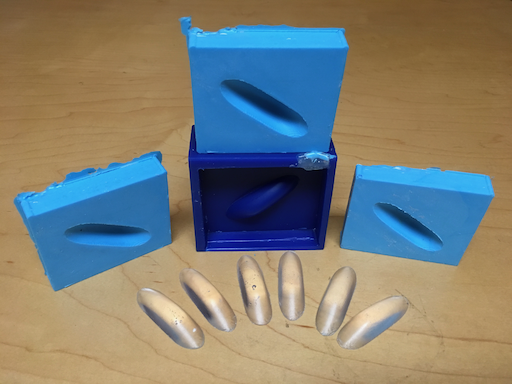
Leo's Assignment 6: Canopy Casting!
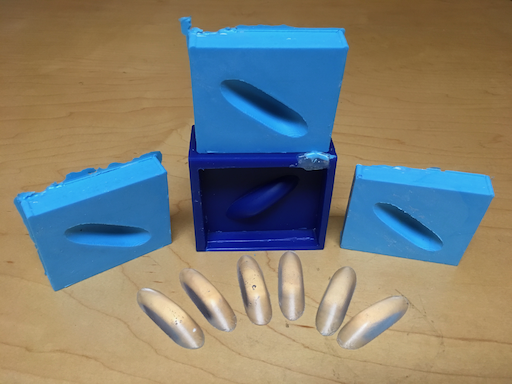
Here is all the documentation for assignment 6!

Here is all the documentation for assignment 6!

Available on github.com at https://github.com/LeoSalemann/LeoSalemann.github.io/tree/master/hcde598/hw06
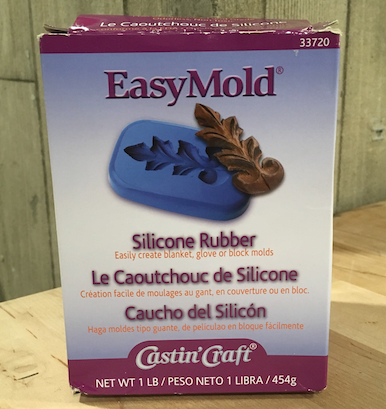
My OOMOO's going to be late so I bought Castn' Craft® EasyMold® from the Redmond Ben Franklin craft store. It's Silicone, it's a 1:1 mixture, it will hopefully work.
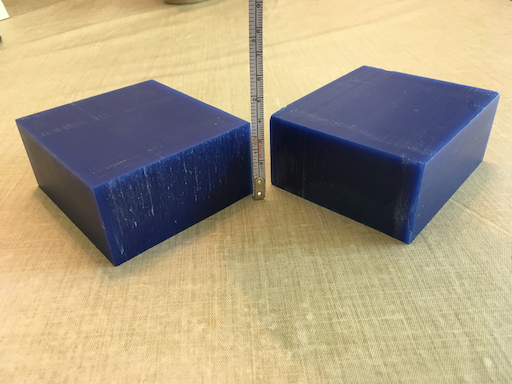
Also unboxed my machinable wax. It's about the right size in X and Y, but way too tall in Z. Gonna need some bandsaw therapy.
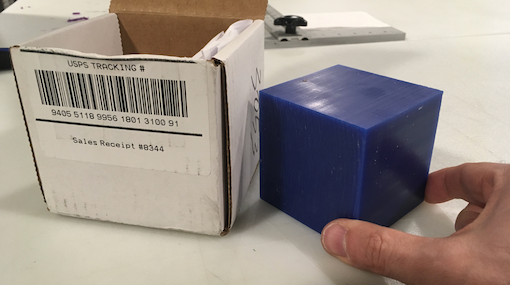
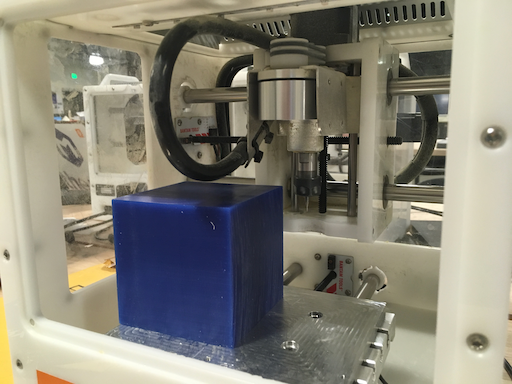
So for real, how many cuts to I need?
Okay, so either make a pair of 1.5" blocks, or a 2" that I use and a 1" that I probalby throw away. How's it look in the Bantam mill?
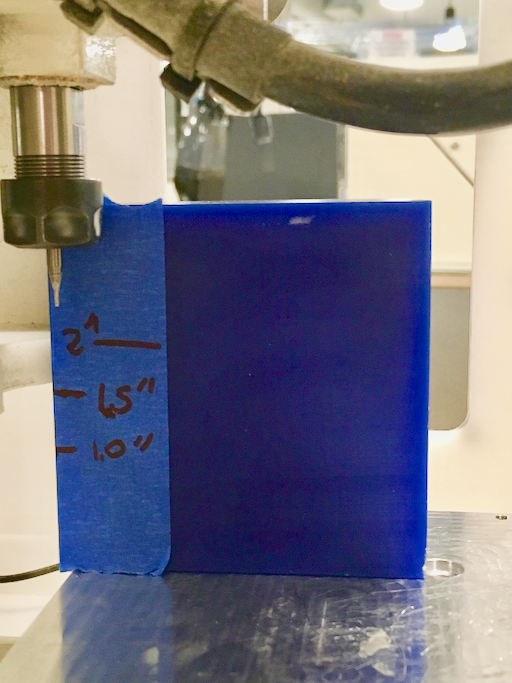
So a two inch high block will just barely fit; inch and a half is safe. A pair of 1.5's looks right from this perpective, now let's see about the bandsaw.
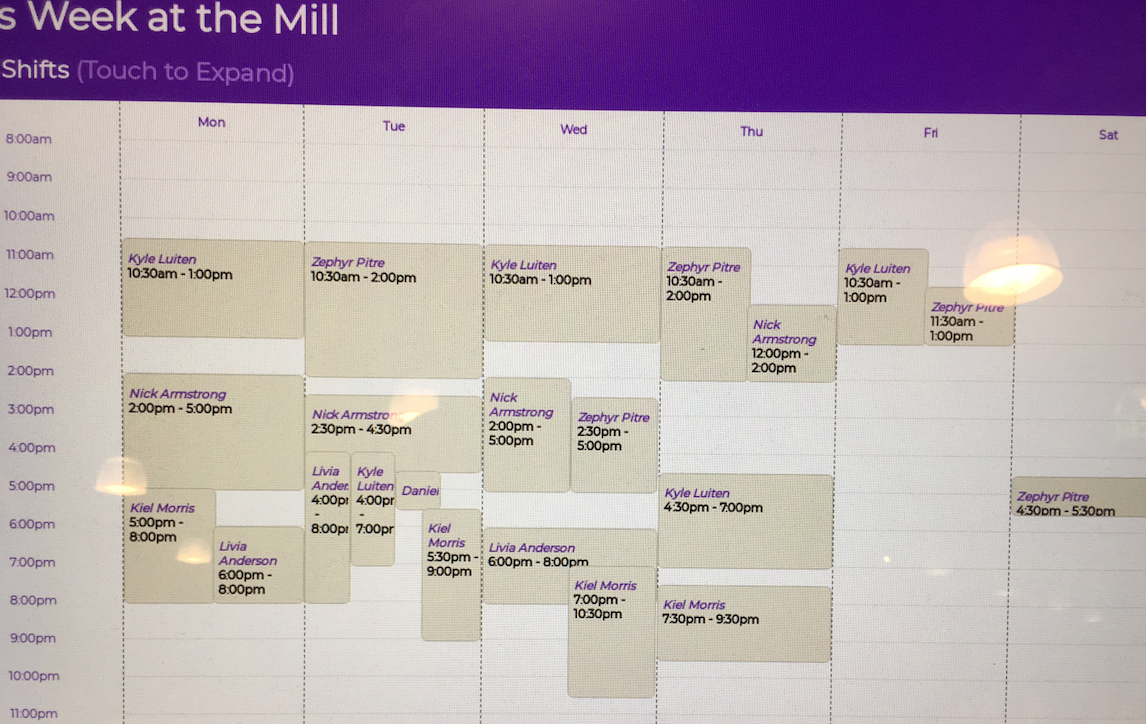
I need training & credentialing by specific MILL staff before I can use the bandsaw. MILL staff says anyone but Nick can provide bandsaw training, based on the schedule below.
Okay, so I can't cut anything tonight, but I can figure out how I would cut something. Linining up the wax block with the bandsaw blade silver line) and its clamp, a 1.5" cut doesn't leave much for the clamp to grab onto.
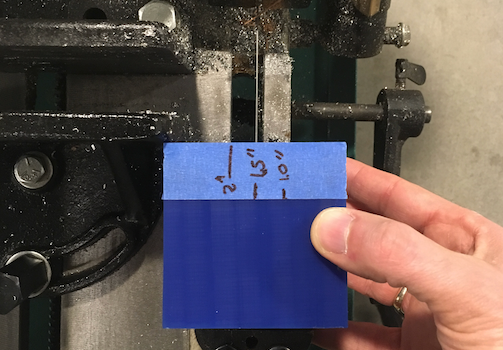
Shaving off just one inch seems like the safer bet.
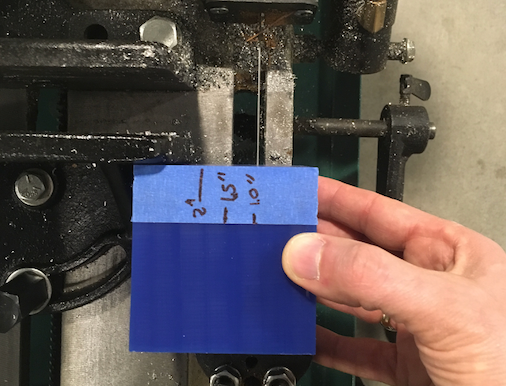
So in the end, it's up to the MILL trainer how I'm gonna cut this thing, but a 2" block with 1" waste is looking pretty good right now.
Got certified on the MILL's bandsaw, but I can't cut antything until Monday during business hours. Too late, too disruptive to my work schedule. Gotta buy wax from Fluke instead; can't do that until tomorow.
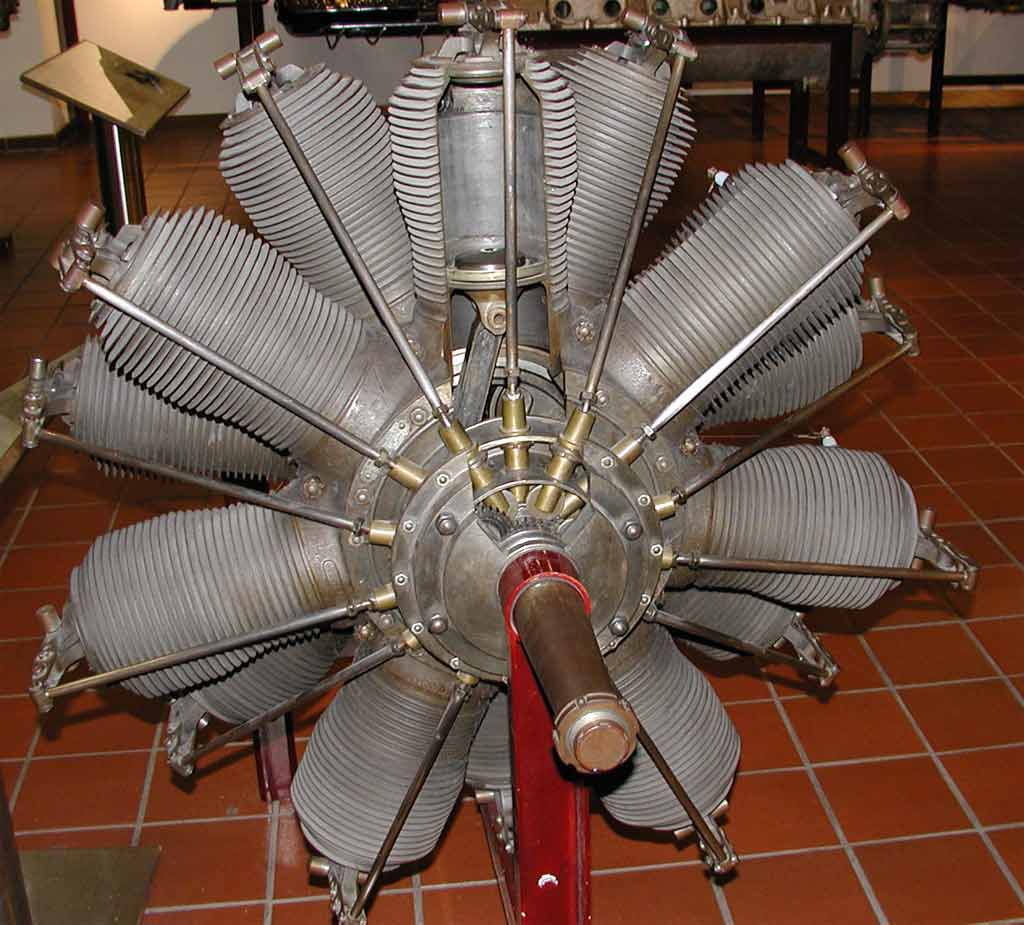
I was thinking a radial engine would be cool, especially if I cast in zinc instead of plaster. The geomtery's pretty tricky though. Even a "half engine" would involve all those cooling fins like a motorcycle.

So maybe a "bubble canopy" would be easier. It'd look really good if I can cast in clear resin. And If I wanna play hard-mode, I could make a two part mold and have a hollow canopy.

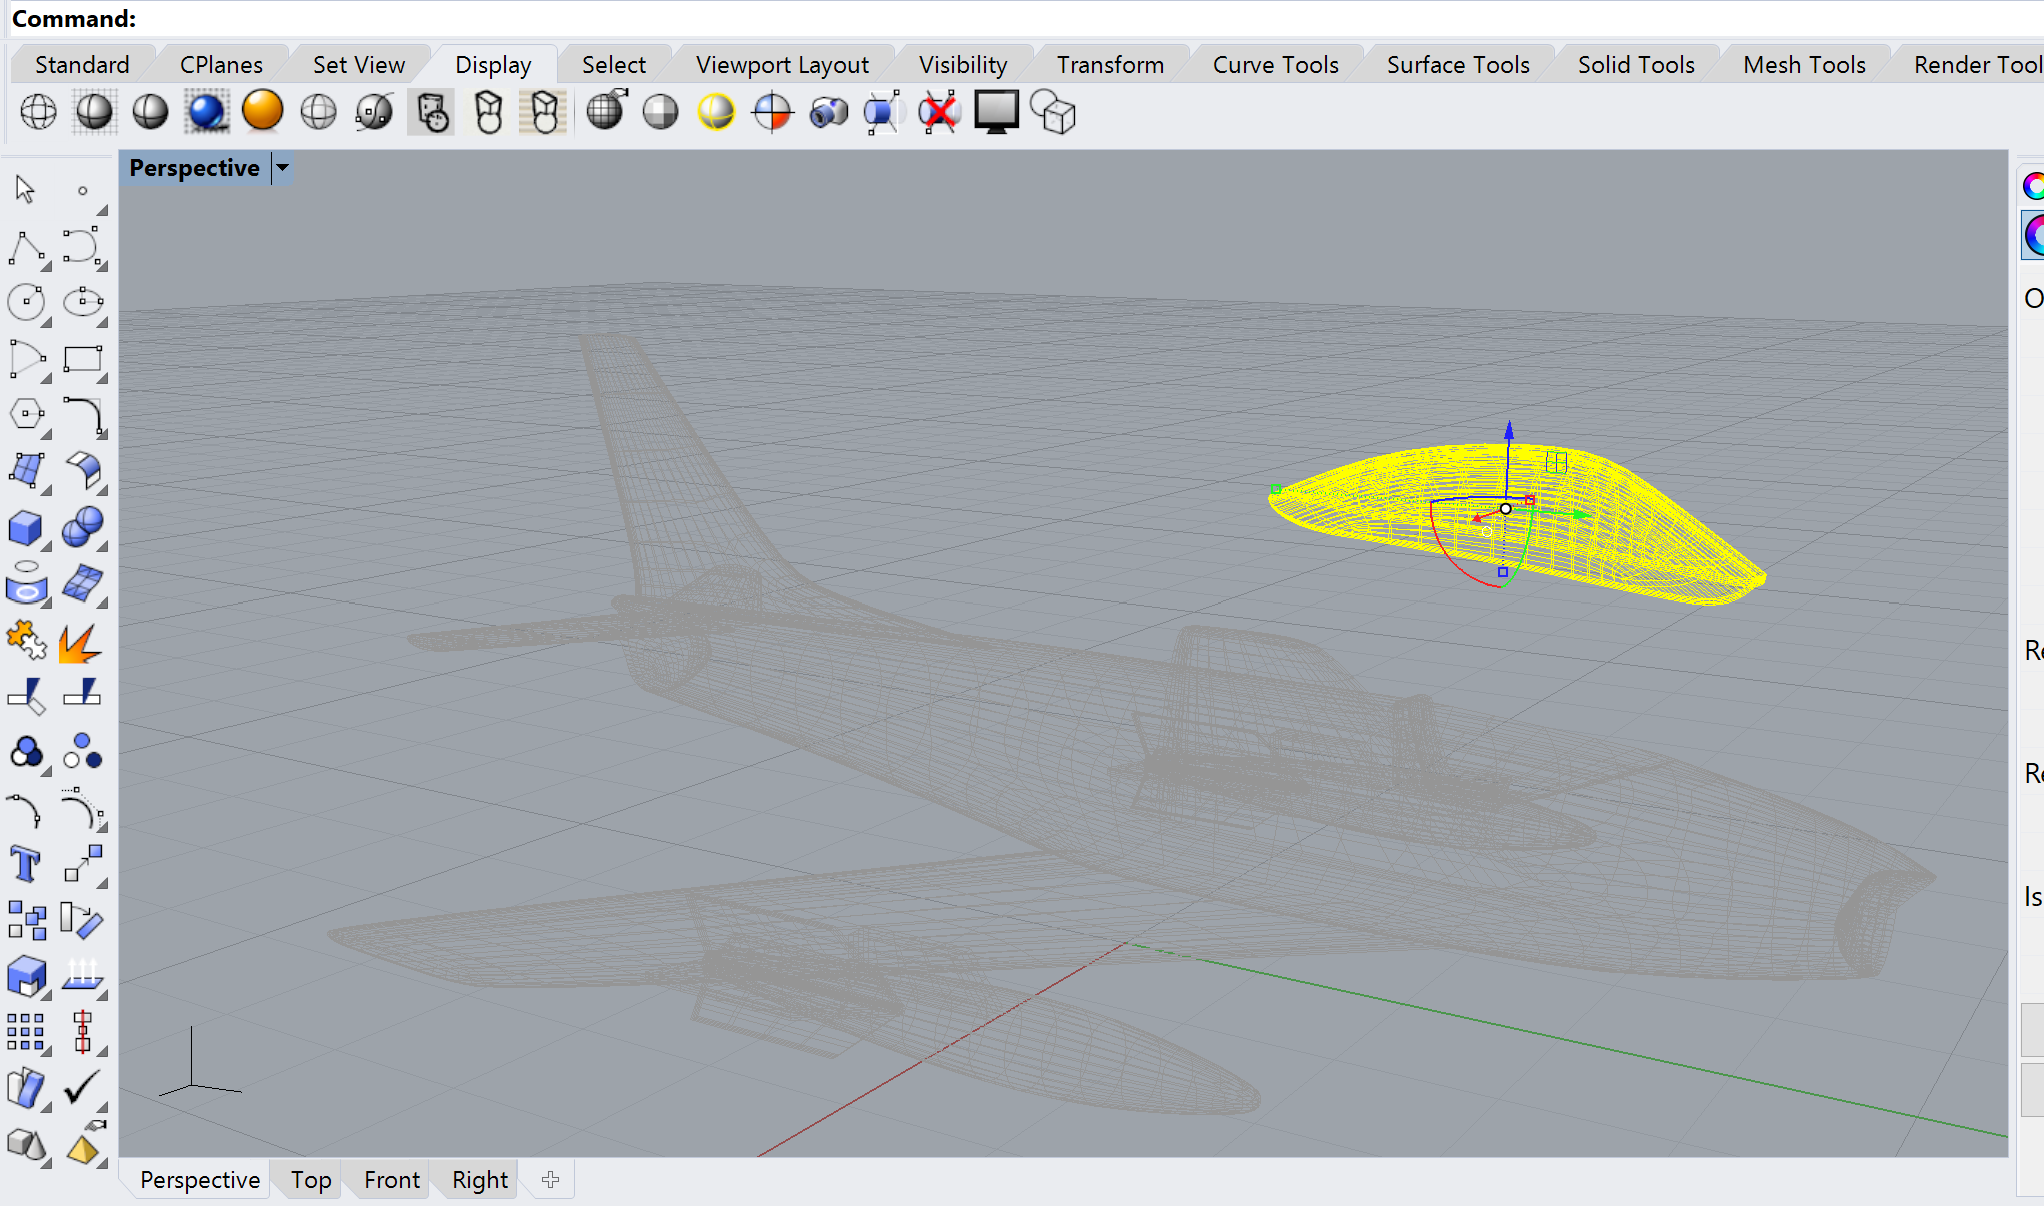
Turns out standalone canopies are hard to find. It's a lot easier to find aircraft and hope I can slice the canopy off. As luck would have it (honestly, I did not plan this in advance) free3d.com has the same F-86 I found while searching aircraft canopy on wikimedia.
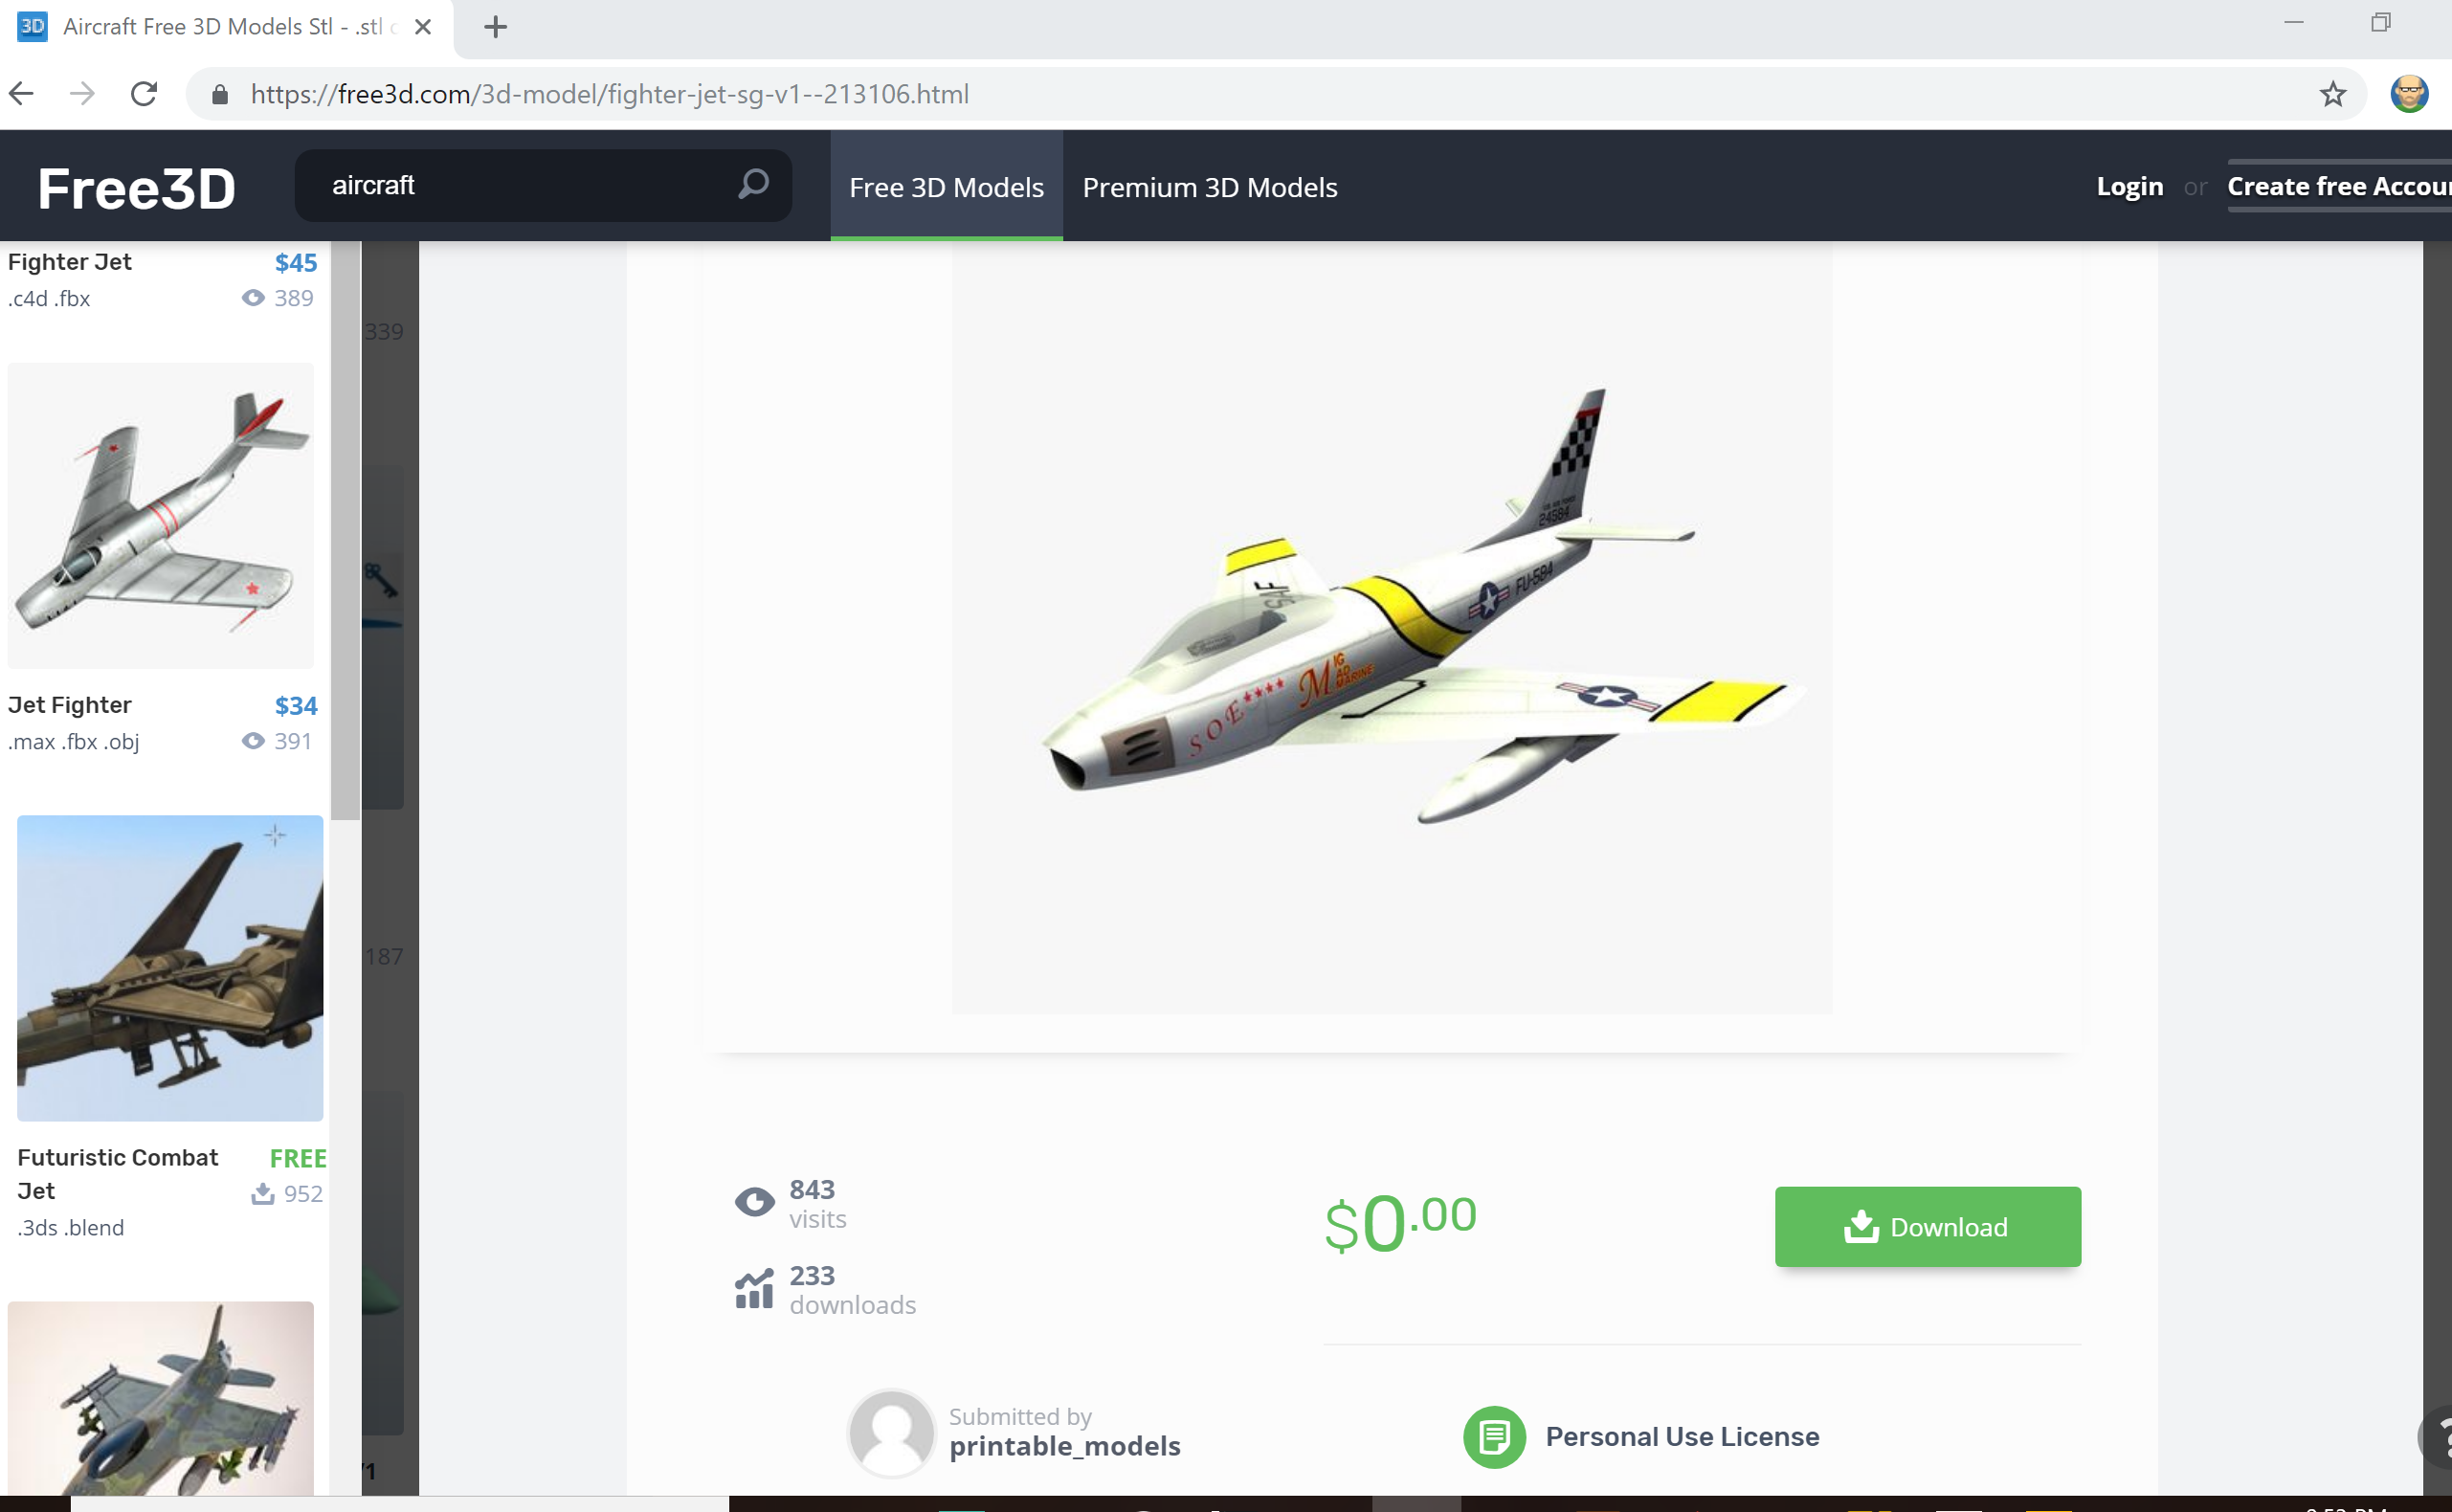
Making the box was fairly painless in Rhino. The real work was integrating the canopy. Download, unzip, import into Rhino. Rhino recongizes the obj file, and provides options to import by object and object names. Imma try that.
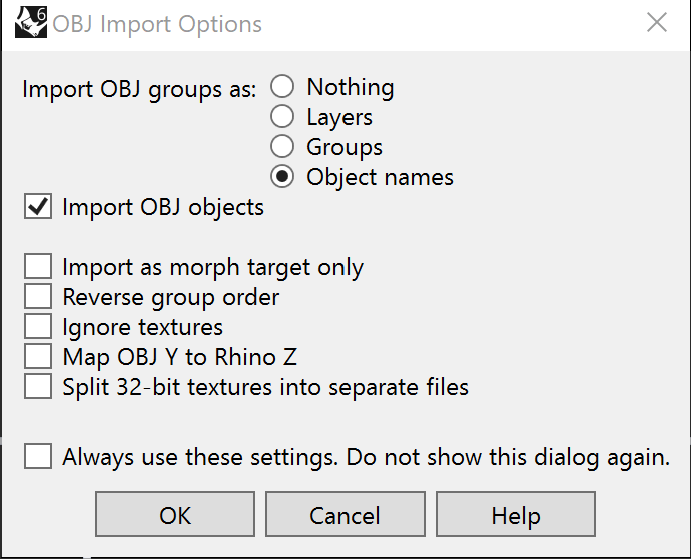
Whoah! Textures and everything!
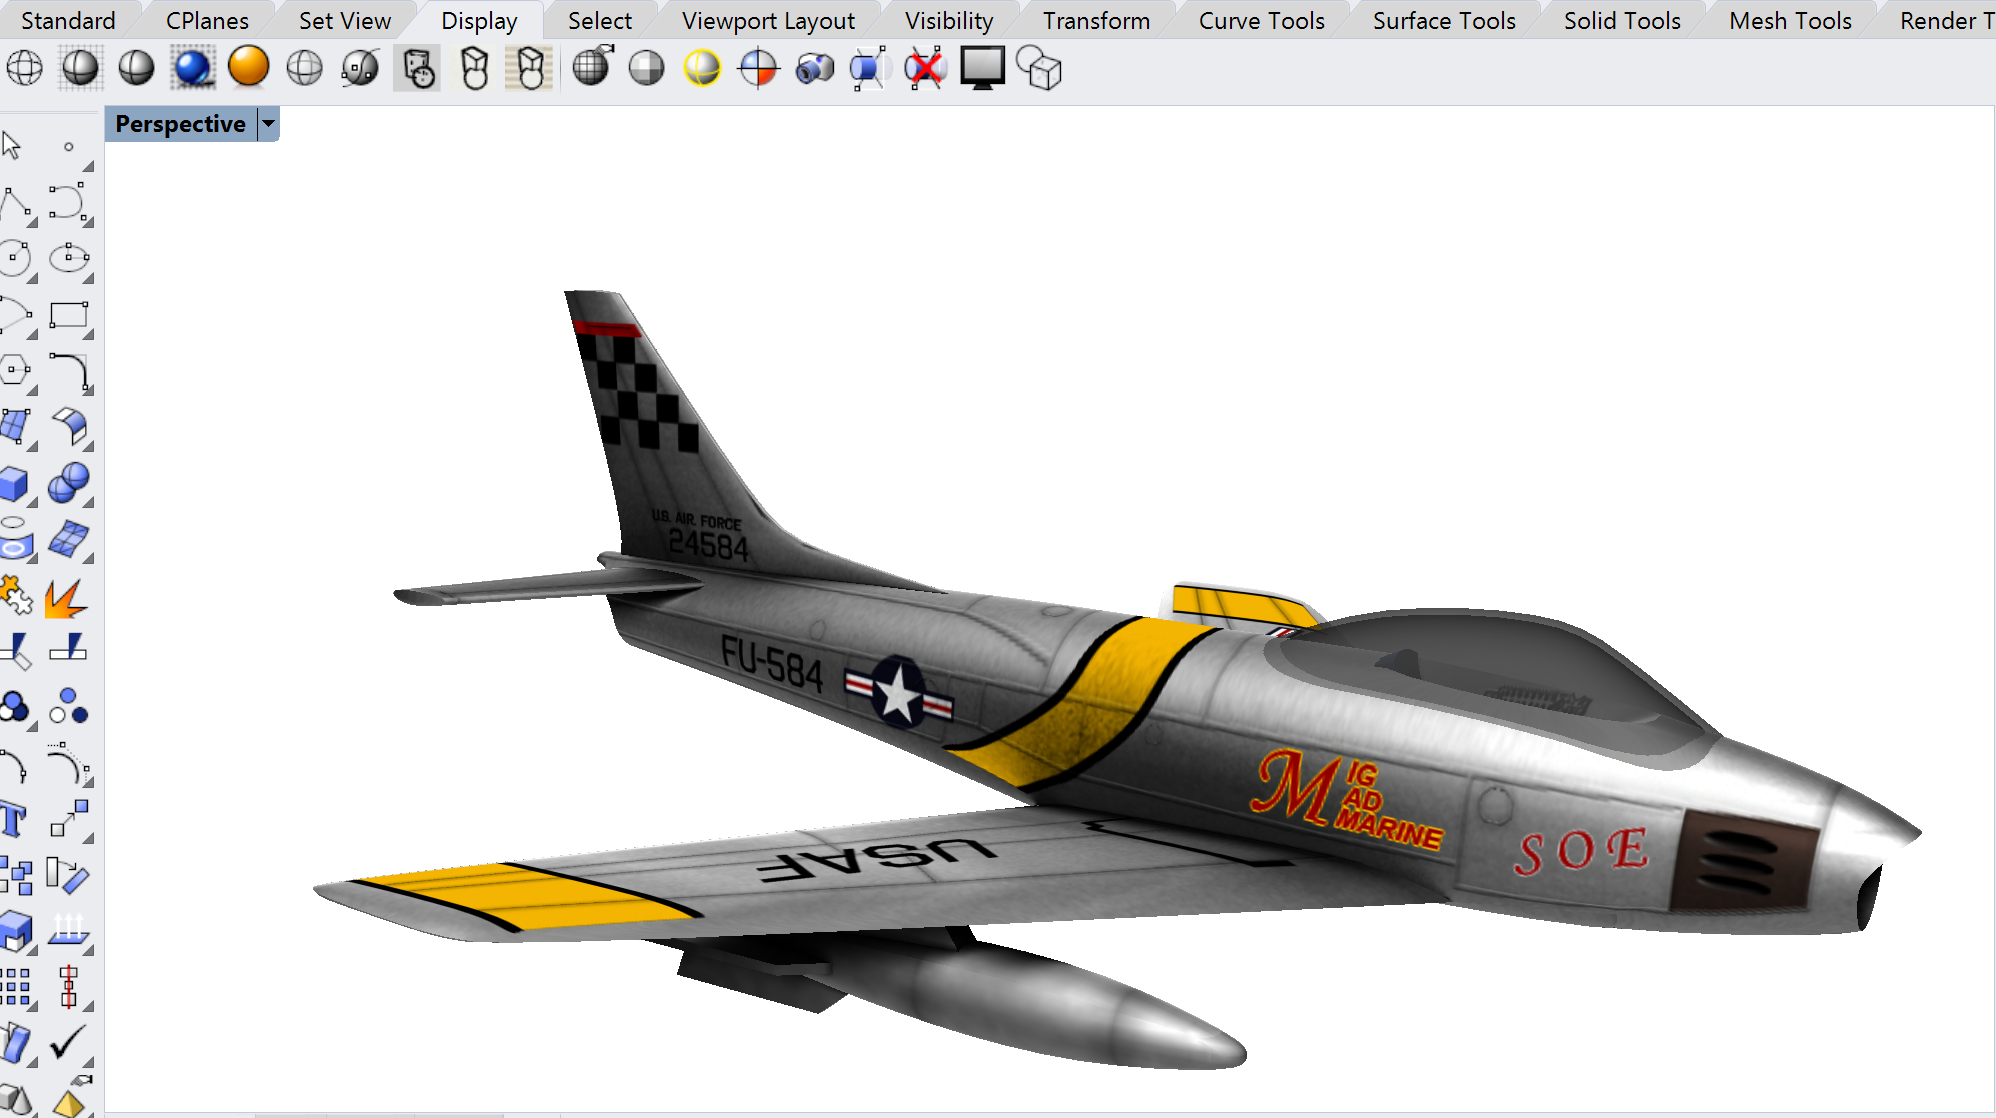
Now the crucial test ... can I pull the canaopy off of the airplane?

Export the canopy as an obj. Go back to my box in Rhino, and import the canopy. Map OBJ Y to Rhino Z and I'm set. Canopy's a little big. Translate and rotate to maneuver it over the box.
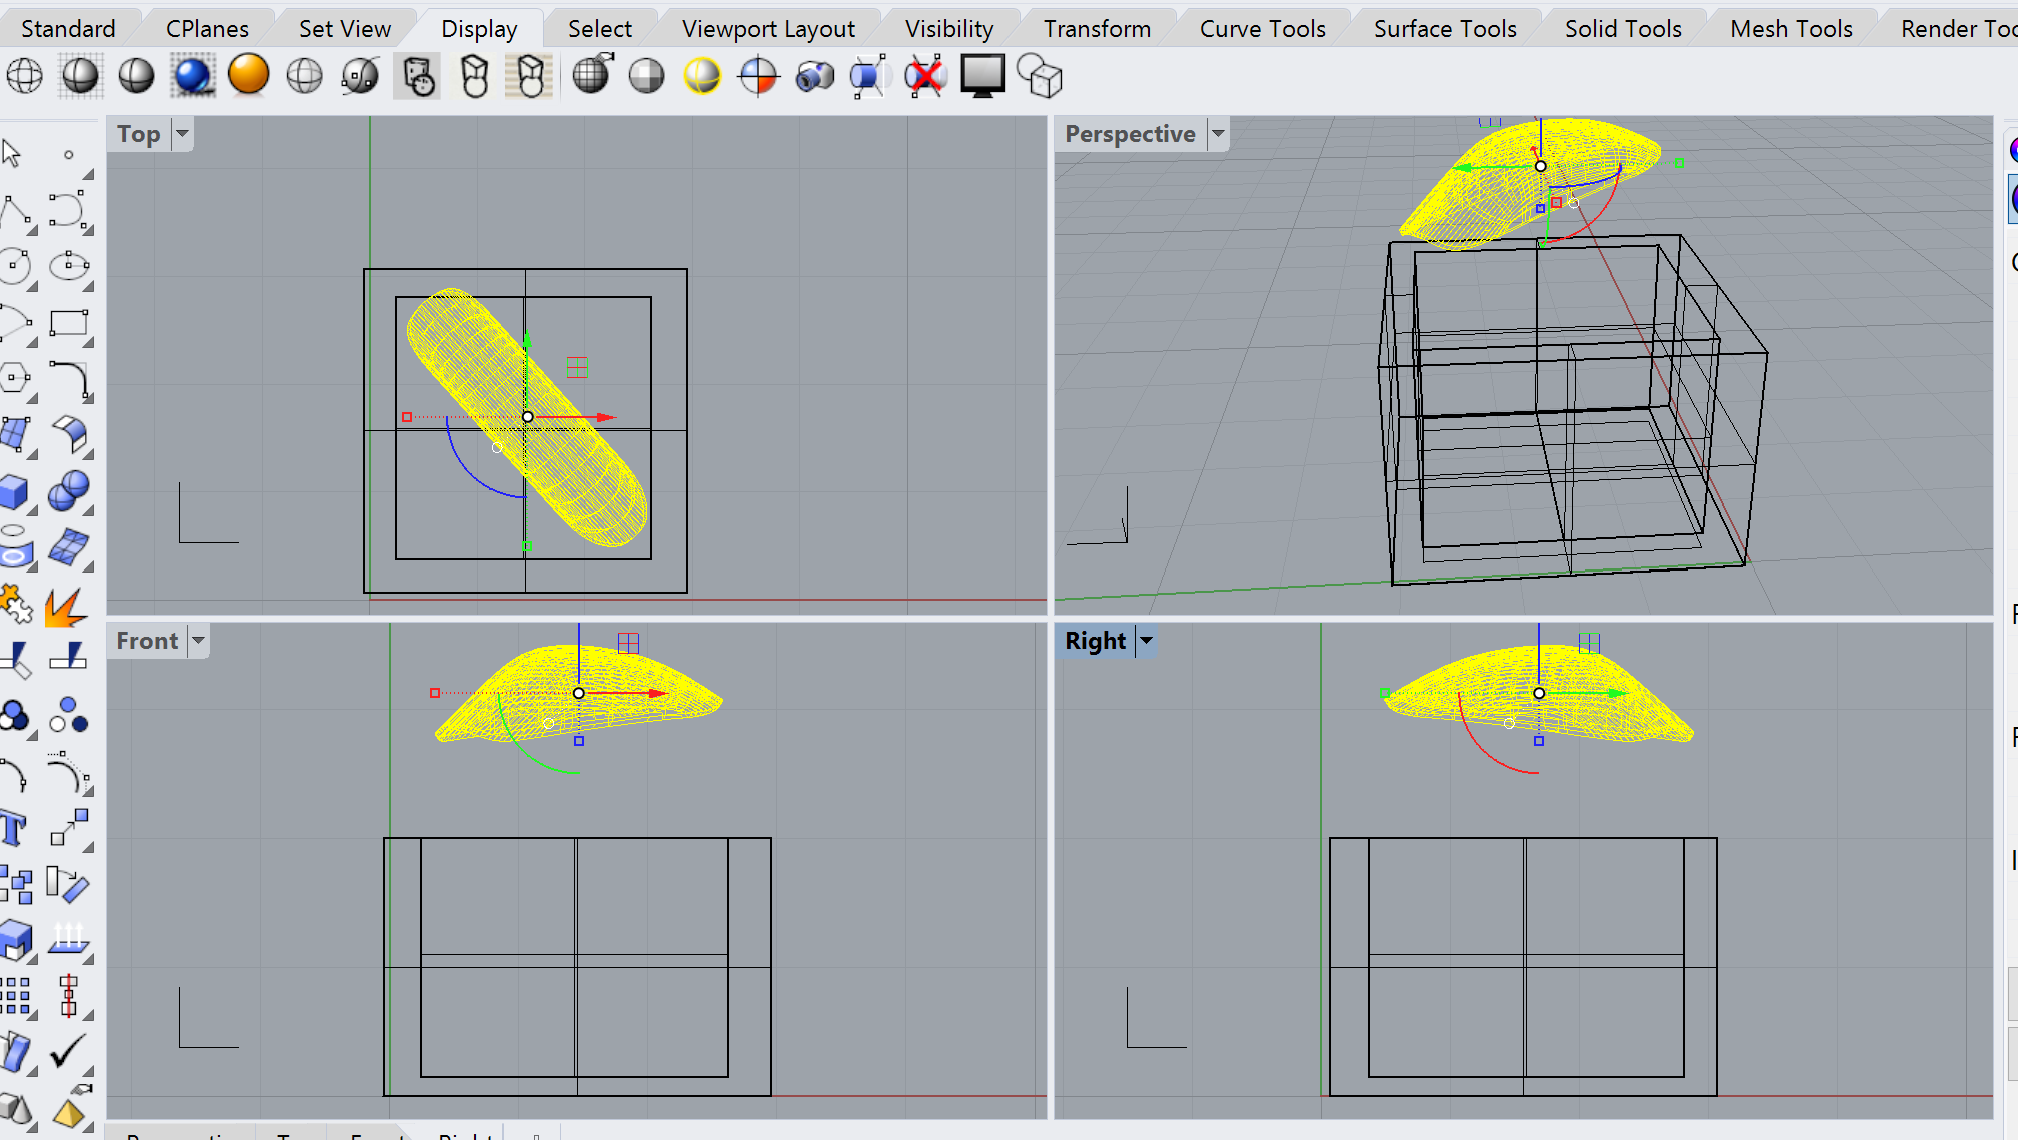
Scale it down, translate it to the bottom of the box.
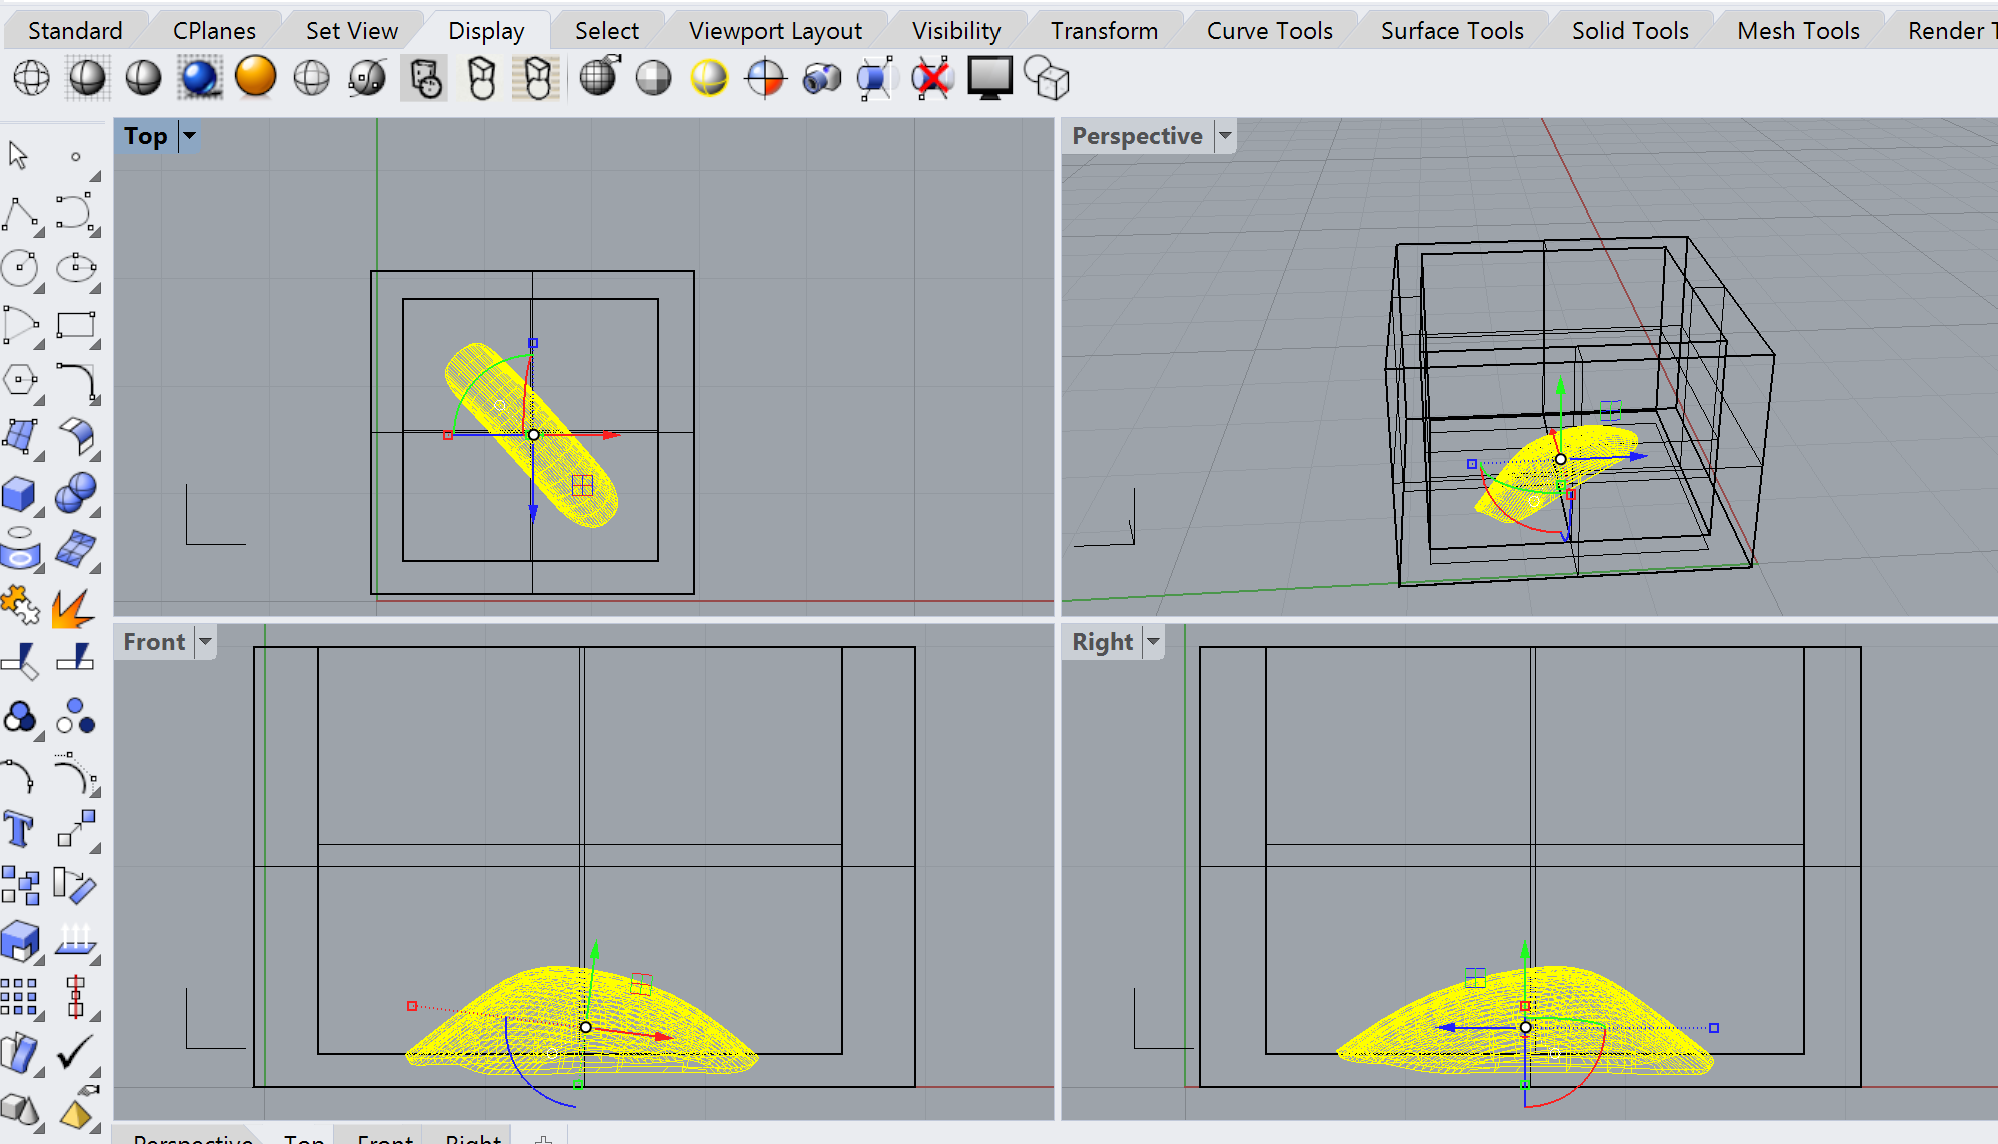
Okay, if I can shave off the bottom I'm home free. Forget the 45 degree rotation thing. Keep it orthongonal so it's easier to align the kinda curvy canopy bottom in pitch and without accidentally introducing roll.
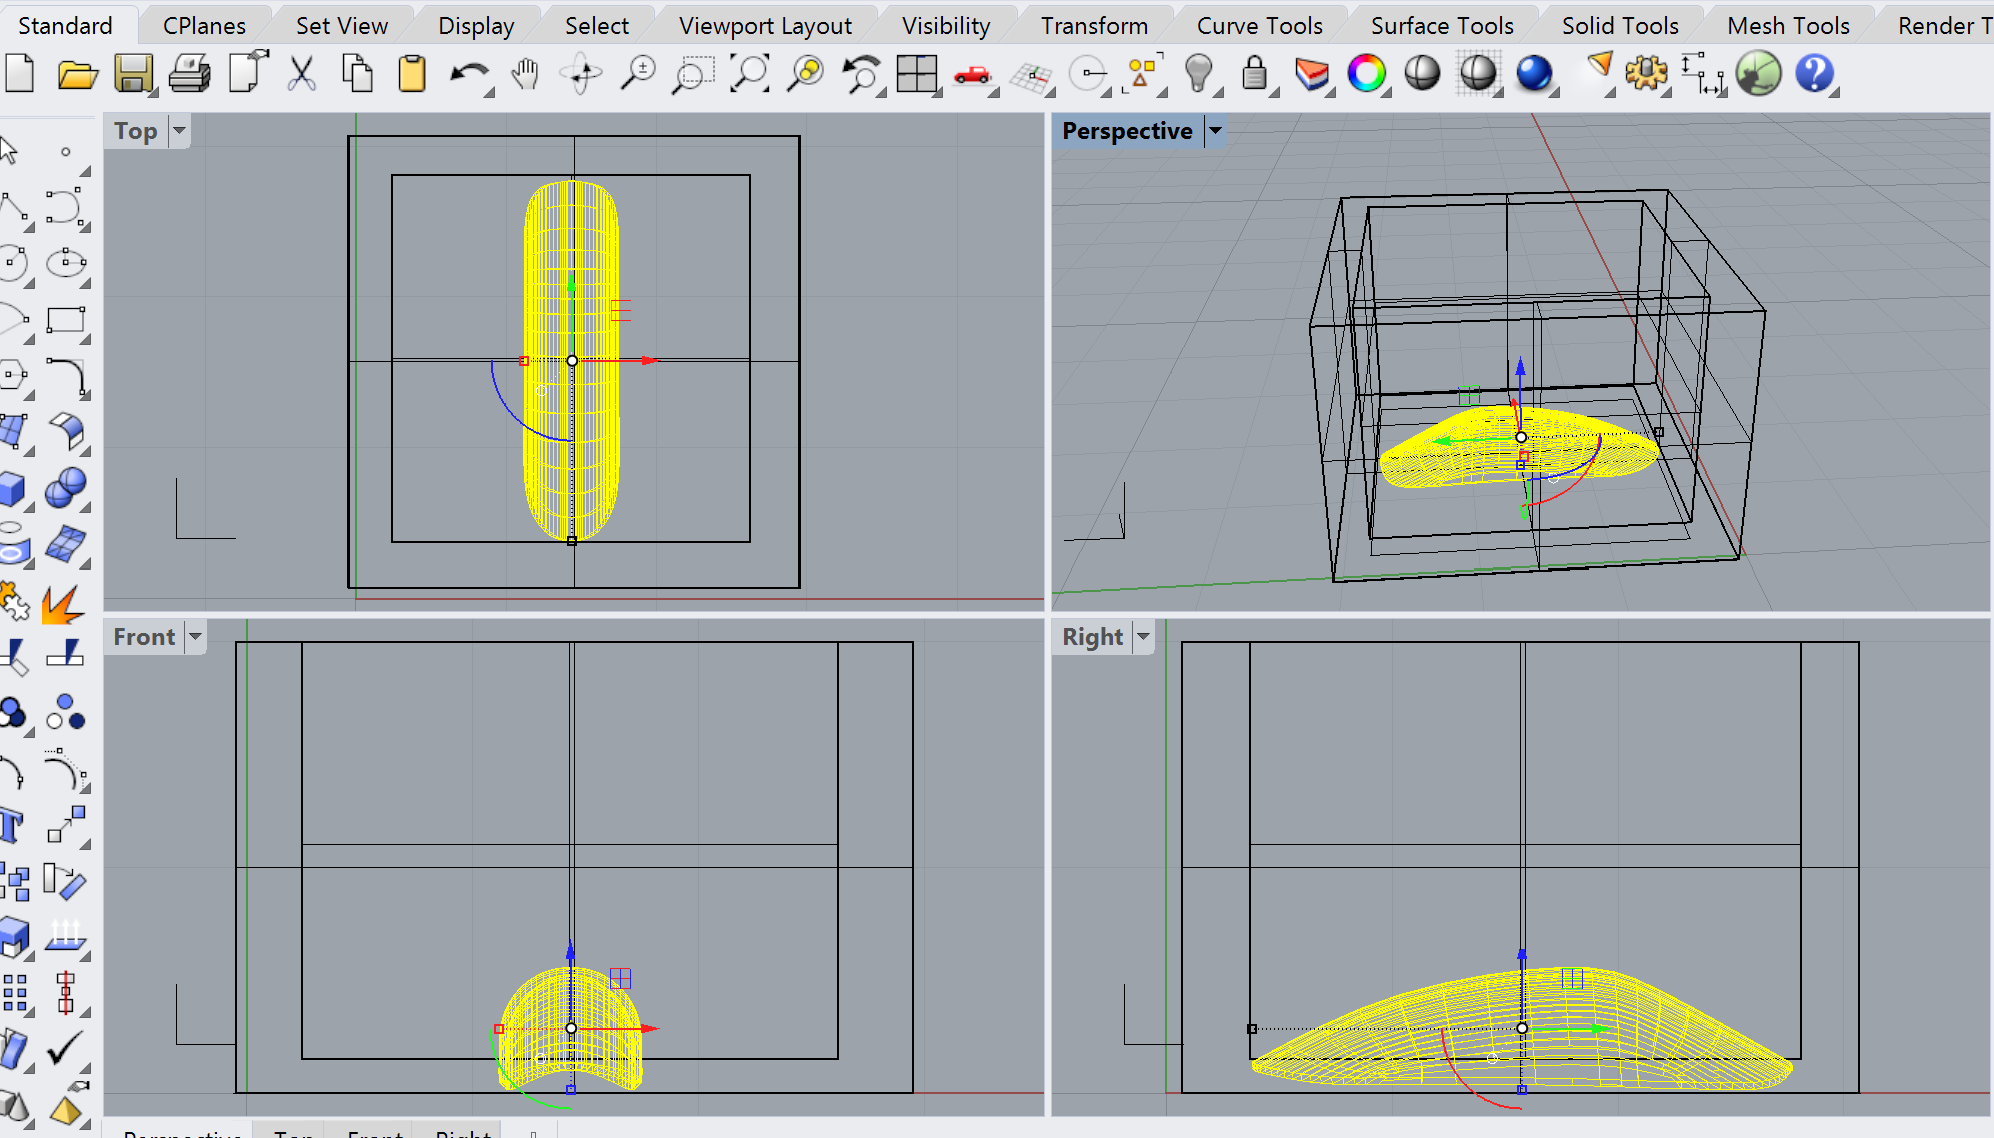
Now Rotate the canopy 45 degrees. Export to stl, load into Fusion 360, and ...
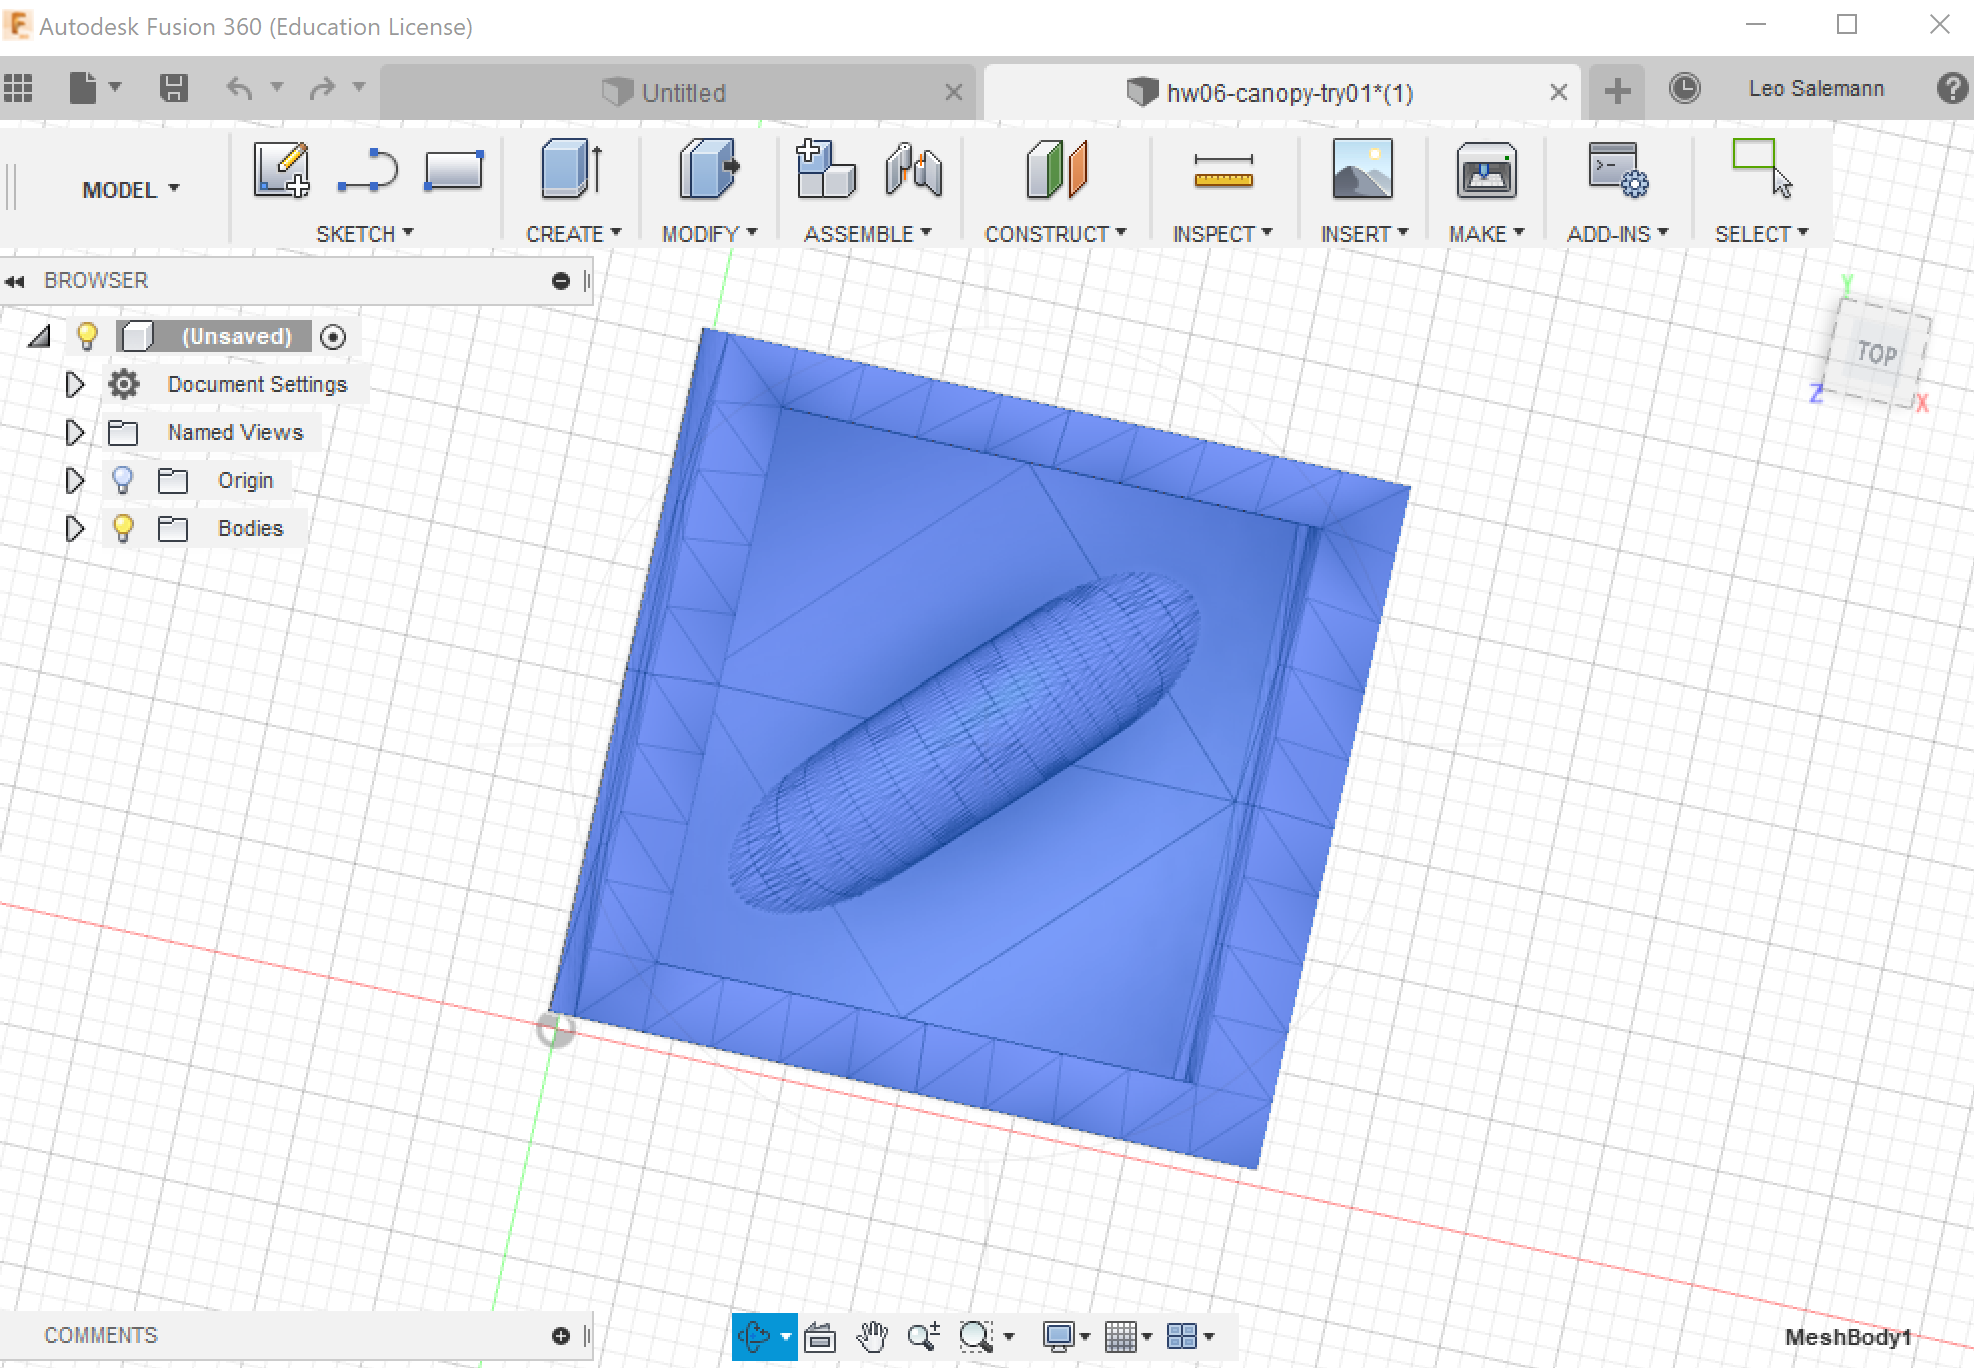
A quick Inspect > Measure in Fusion 360 shows my block at 30.00 mm (1.181 in) across.
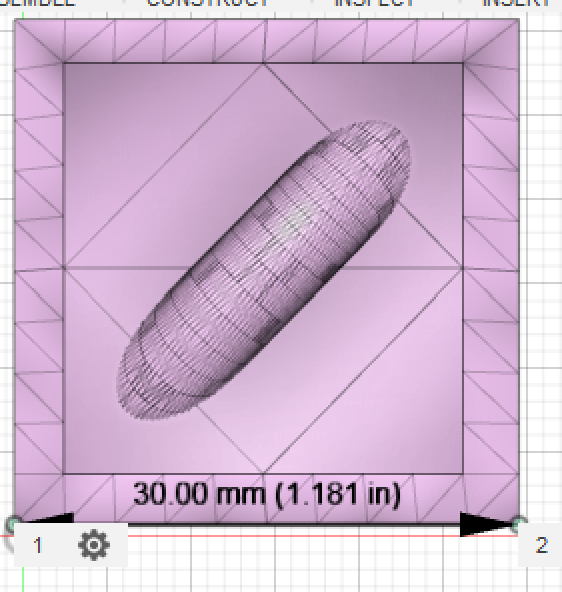
A bit of late-night math says I should scale be 2.54 to get 3 inches.
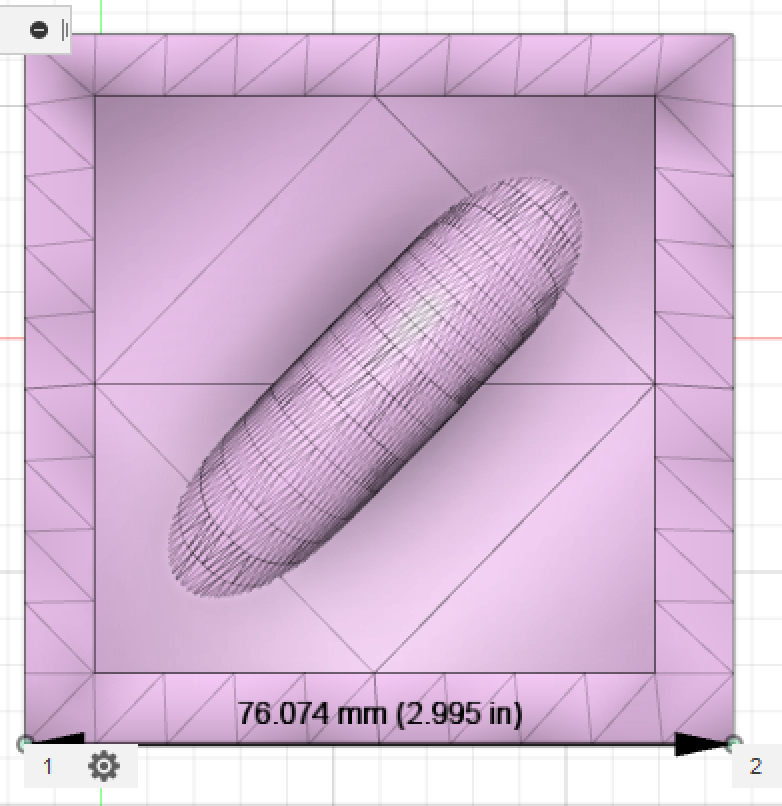
But still no simulation or g-code. Getting sleepy; imma deal with that tomorrow.
Bought a new block of wax at Fluke at 1.5" x 7" x 3". Fluke staffer Hugh was kind enough to cut it for me. Funny story: He first cut it with a jigsaw (thin blade, high speed) causing it to melt back together while still being cut. A broader, slower bandsaw blade did the trick. So now I have an actually millable block (two, in fact) and I just need to re-synch my CAD files with the new block size. But first, I want to think about casting materials.
Rather than plaster, I'd like to cast my canopy in something clear. My EasyMold® box advertises EasyCast®, a clear epoxy/resin combo.
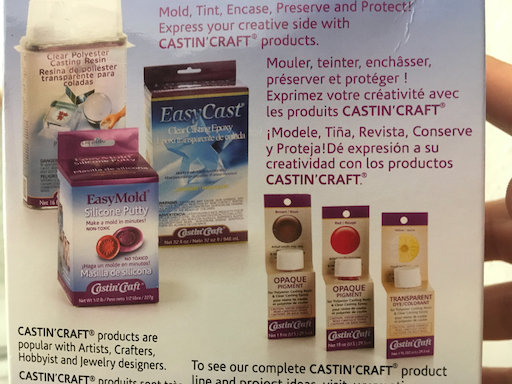
A review of the EasyMold® material data sheet & instructions shows me it's possible. It'll require heat cure or extended 24-hour curing time. I can wait; don't wanna introduce resins into my kitchen oven. Another cool trick I just picked up from the MDS:
For block molds you can measure how much silicone you'll need by pouring dry rice (or something similar) into your mold, then transferring it into a measuring cup.Half the measurement tells you how much part A and part B you need!
Ran out to my local (Issaquah) Micheal's, found both Castin' Craft's® EasyCast® as well as Clear Polyester.
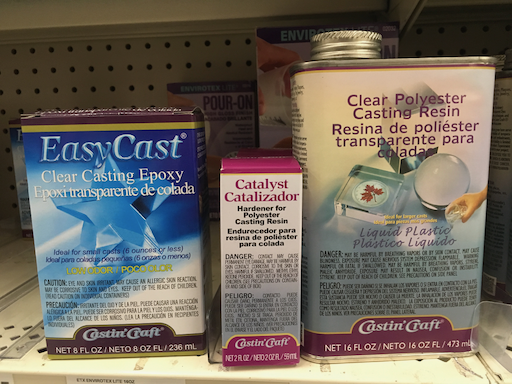
EasyCast® is cheaper and simpler but the dry times could be up to three days. The other one seems like it will cure faster, but trickier mixing and a complicated multi layer pour. I’m going to buy the cheaper one and get my mold ready ASAP. If I run out of time I’ll come back for the polyester.
The assignment calls for making 4 finished pieces. I have both EasyMold® (silicone) and EasyCast® (clear epoxy/resin) now, so I’ll make mulitiple silicone molds to let me cast mulitiple pieces simultaneously. Everything takes an overnight or full day to cure, so I should be able to buy more material at local stores if I’m running short. My casting schedule will probably look something like this:
| Day | I have | I can pour | Finished Pieces |
|---|---|---|---|
| Sunday | 1 wax mold | 1 silicone mold | 0 |
| Monday |
1 wax mold 1 silicone mold |
1 silicone mold 1 canopy |
0 |
| Tuesday |
1 wax mold 2 silicone molds 1 canopy |
1 silicone mold 2 canopies |
1 |
| Wednesday |
1 wax mold 3 silicone molds 3 canopies |
1 canopy |
3 |
Assuming I can cast my first silicone mold on Sunday, I'll have one silicone mold ready on Monday, and zero finished canopies. Tuesday I'll have two molds and one canopy. Should have all the canopies I need by Thursday May 23, for an assingment that's due Sunday, May 26.
I have a new wax block since last time, and I never was able to generate g-code from Fustion 360. Back to Rhino, rebuild my mold. Easiest way I could find was to do it from scratch, since it's just two rectangles, a couple extrusions, and an imported shape. Upon close inspection, my Rhino units are actually milimeters, so Imma go with that.
Make an outer rectangle starting at (0,0) with length 88 and width 78 based on caliper measurements. Five milimeters makes for a good wall thinkness and easy math. Inner rectangle starts at (5,5,5) with length 78 and width 68. Extrude the outer rectangle by 39 (from caliper). Extrude inner recangle by the same to ensure overlap for a "clean subtraction." Cap and do a BooleanDifference.
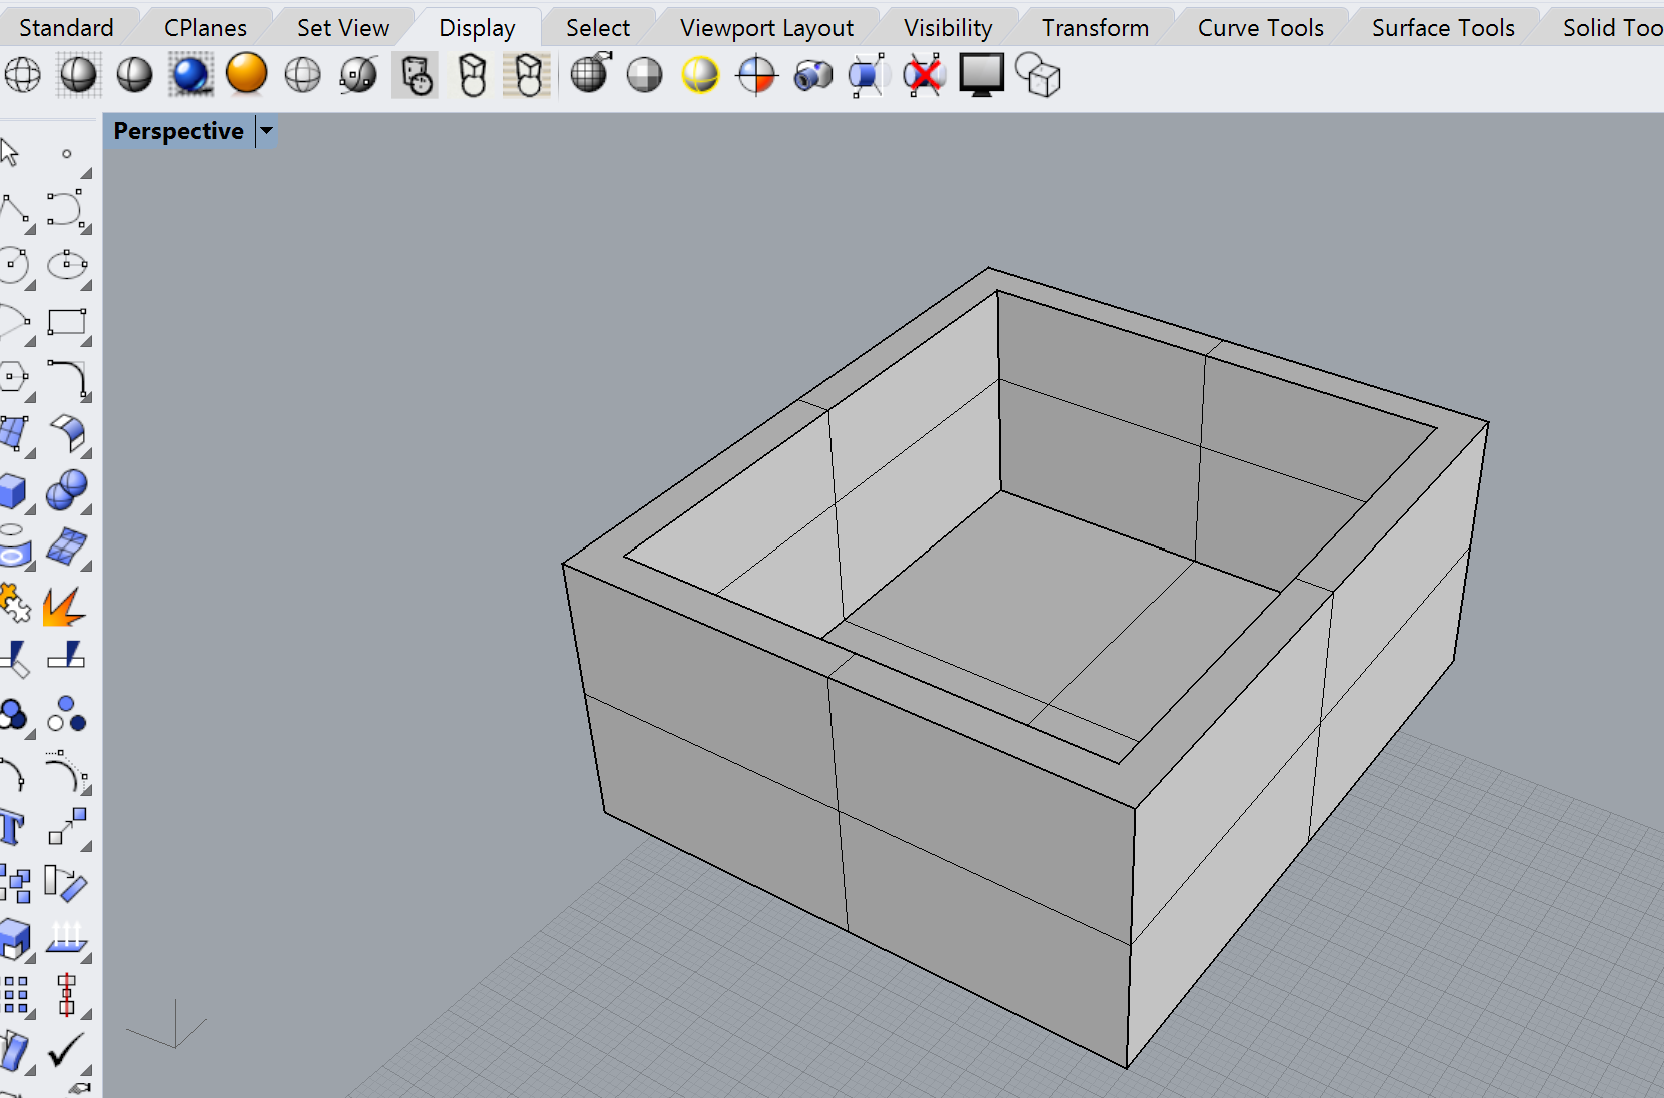
Add the canopy again, scale, move and rotate like last time.
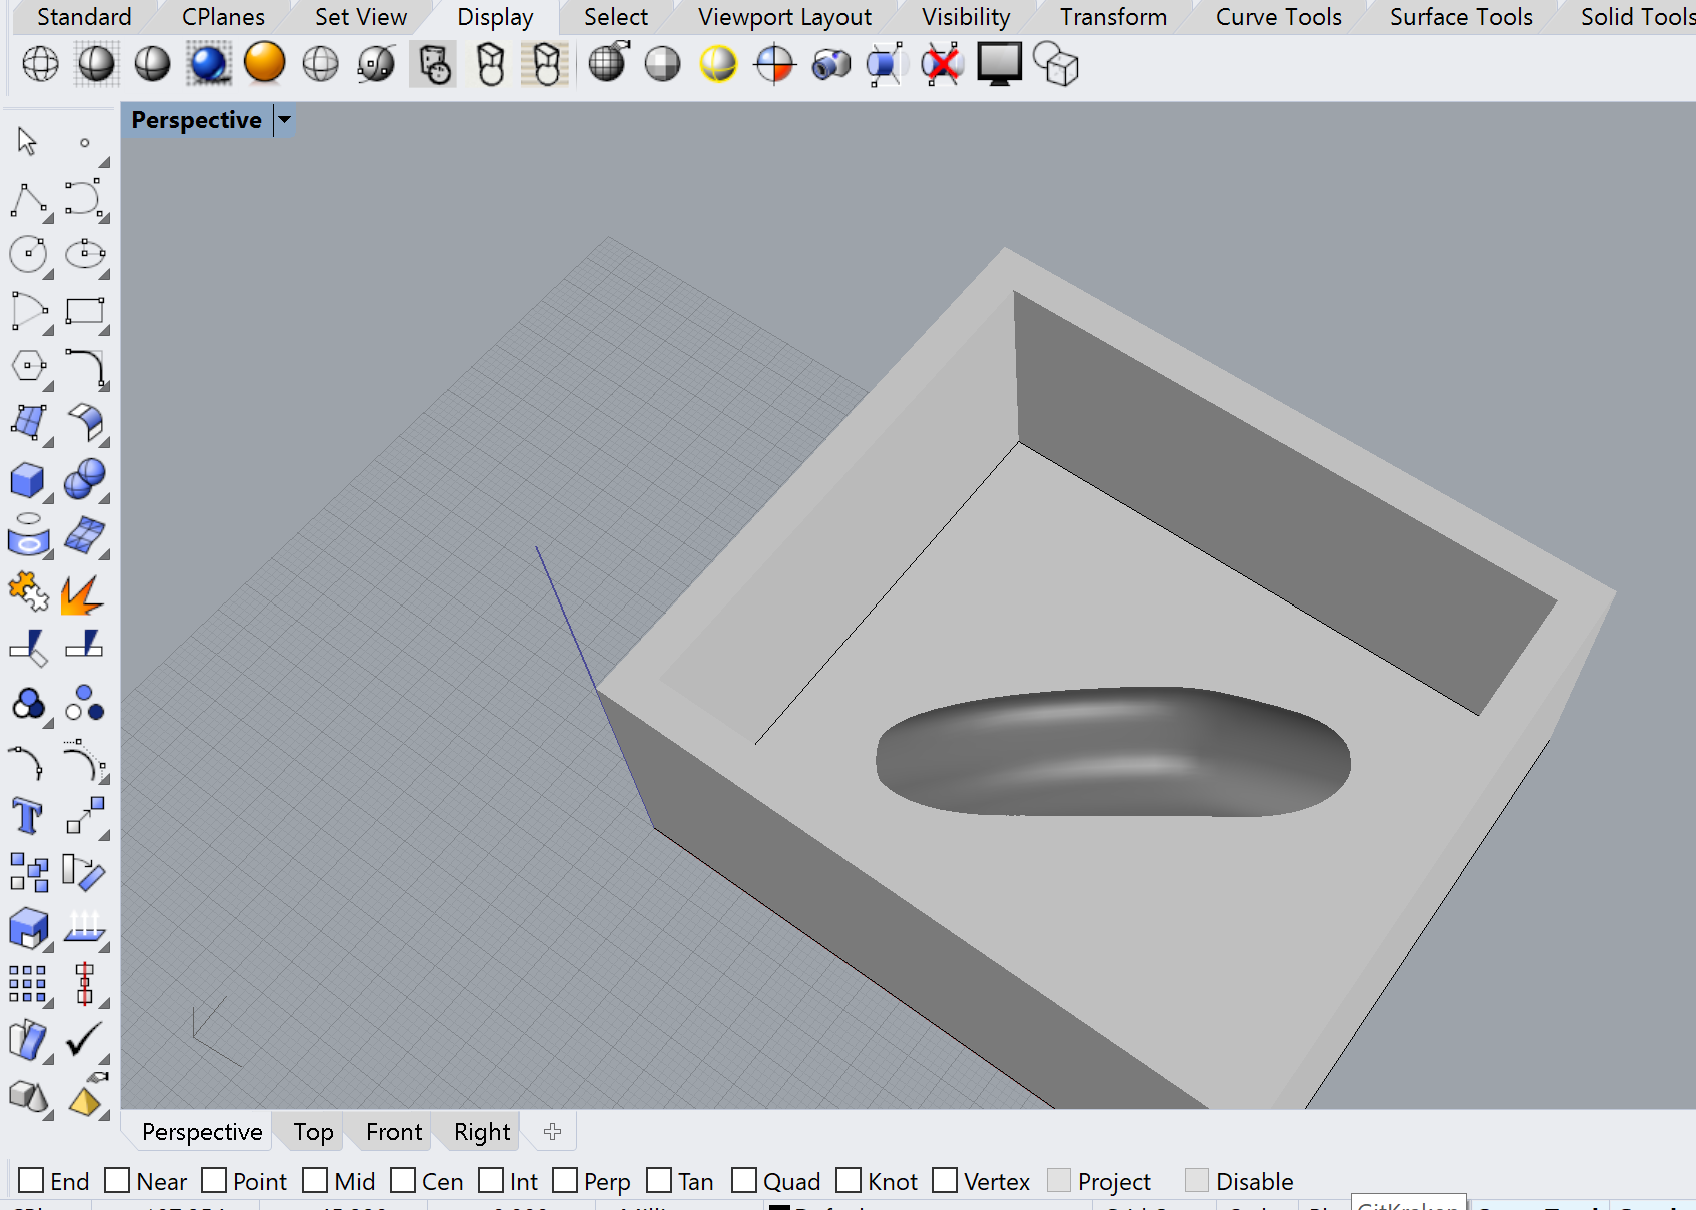
Rhino -> STL -> Fusion 360 was pretty easy, although fusion deciced to scale my model 10X. No problem, easily corrected.
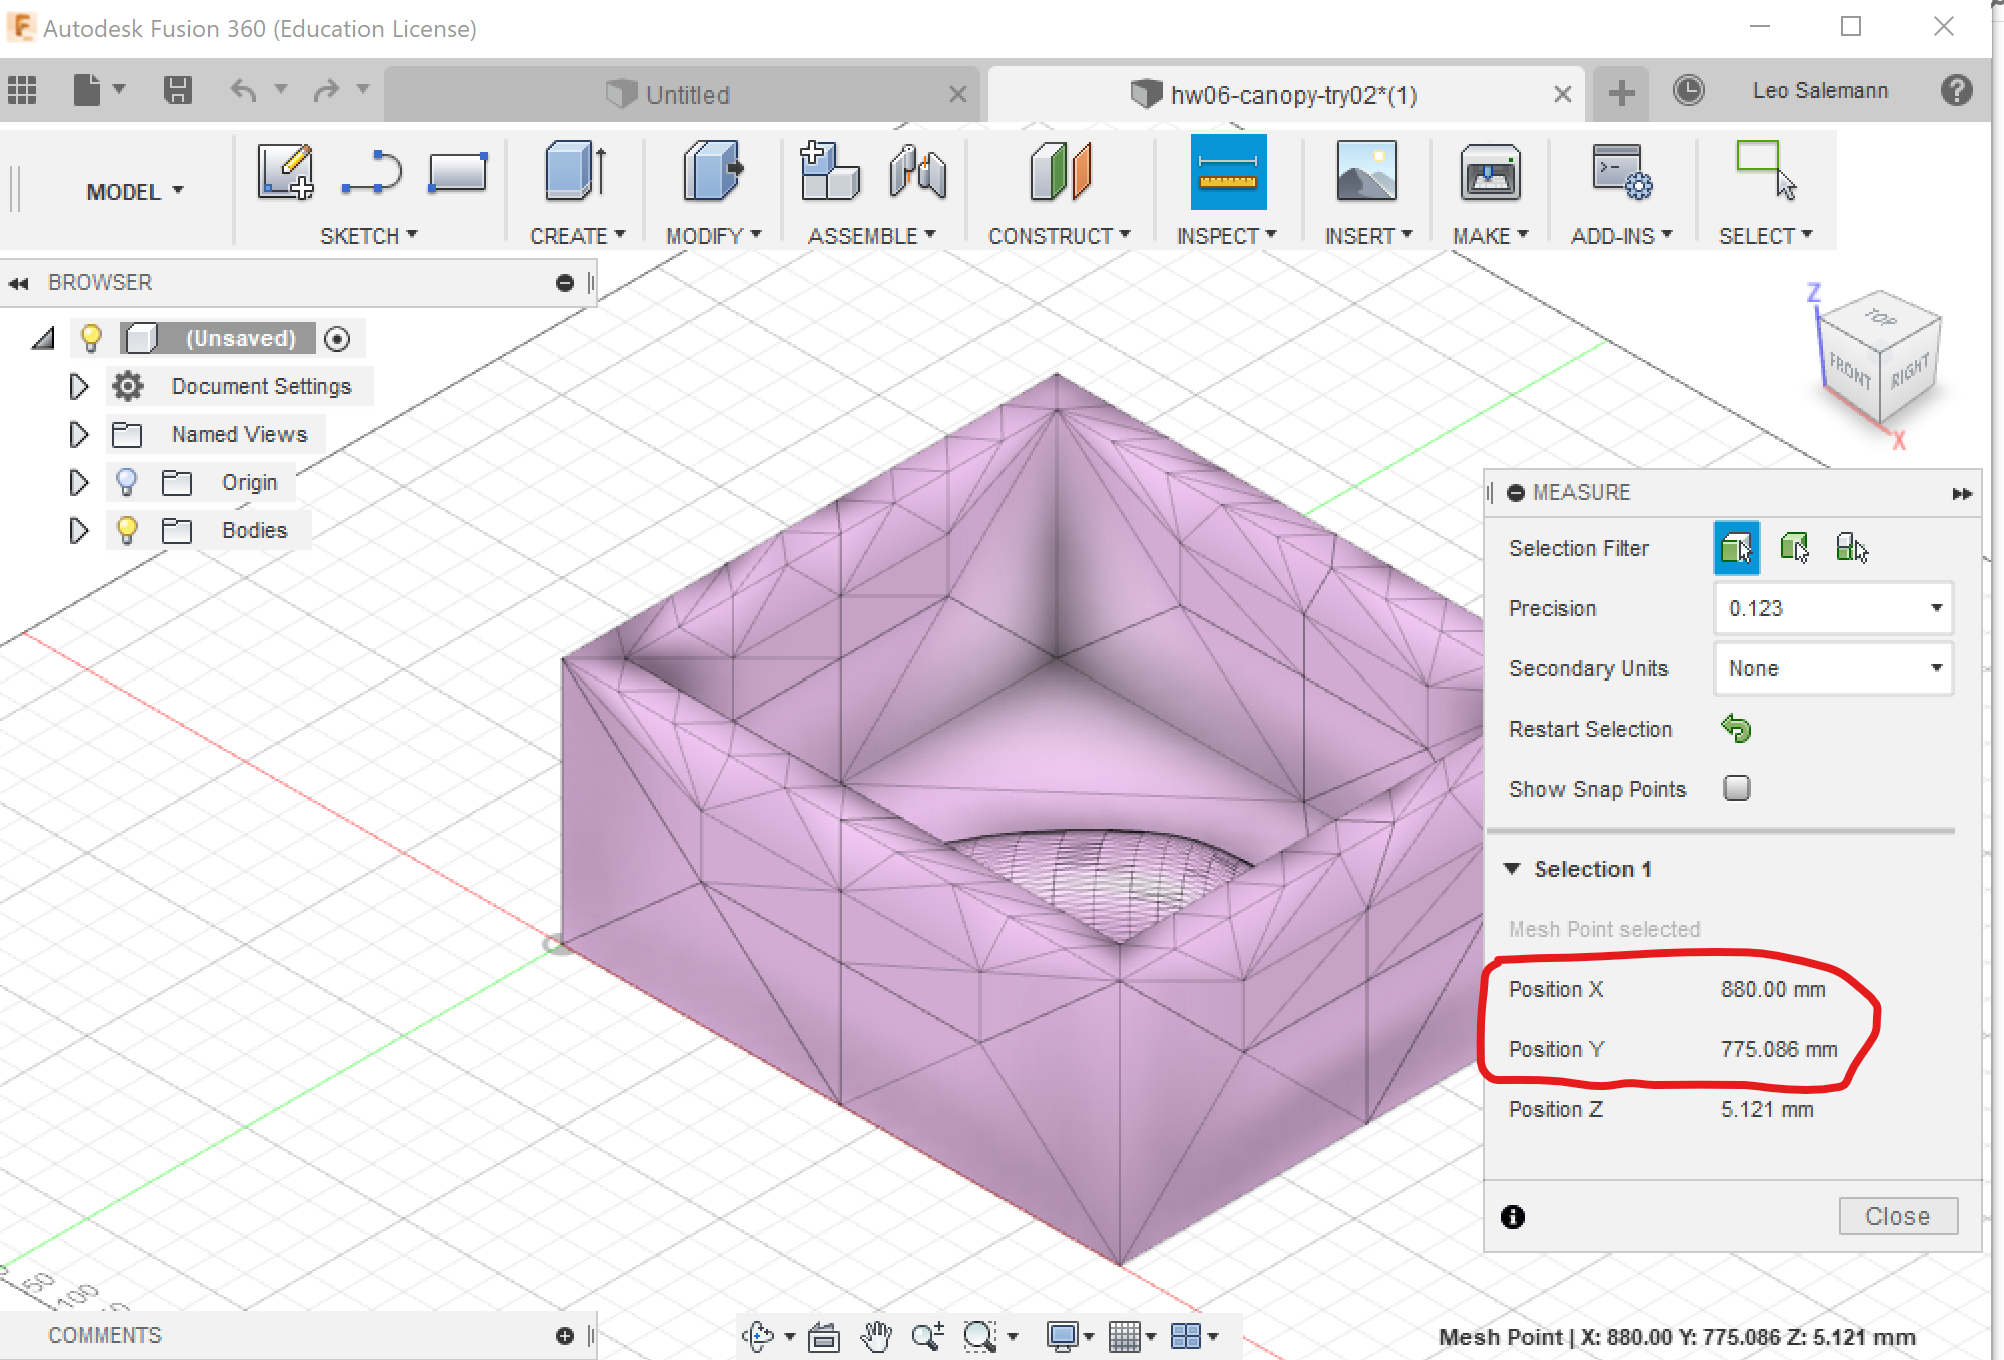
Fusion thought it would be a good idea to ignore the fact that one corner of my model was already at (0,0,0), and left me with something in negative X and Y, hovering way up in positive Z.
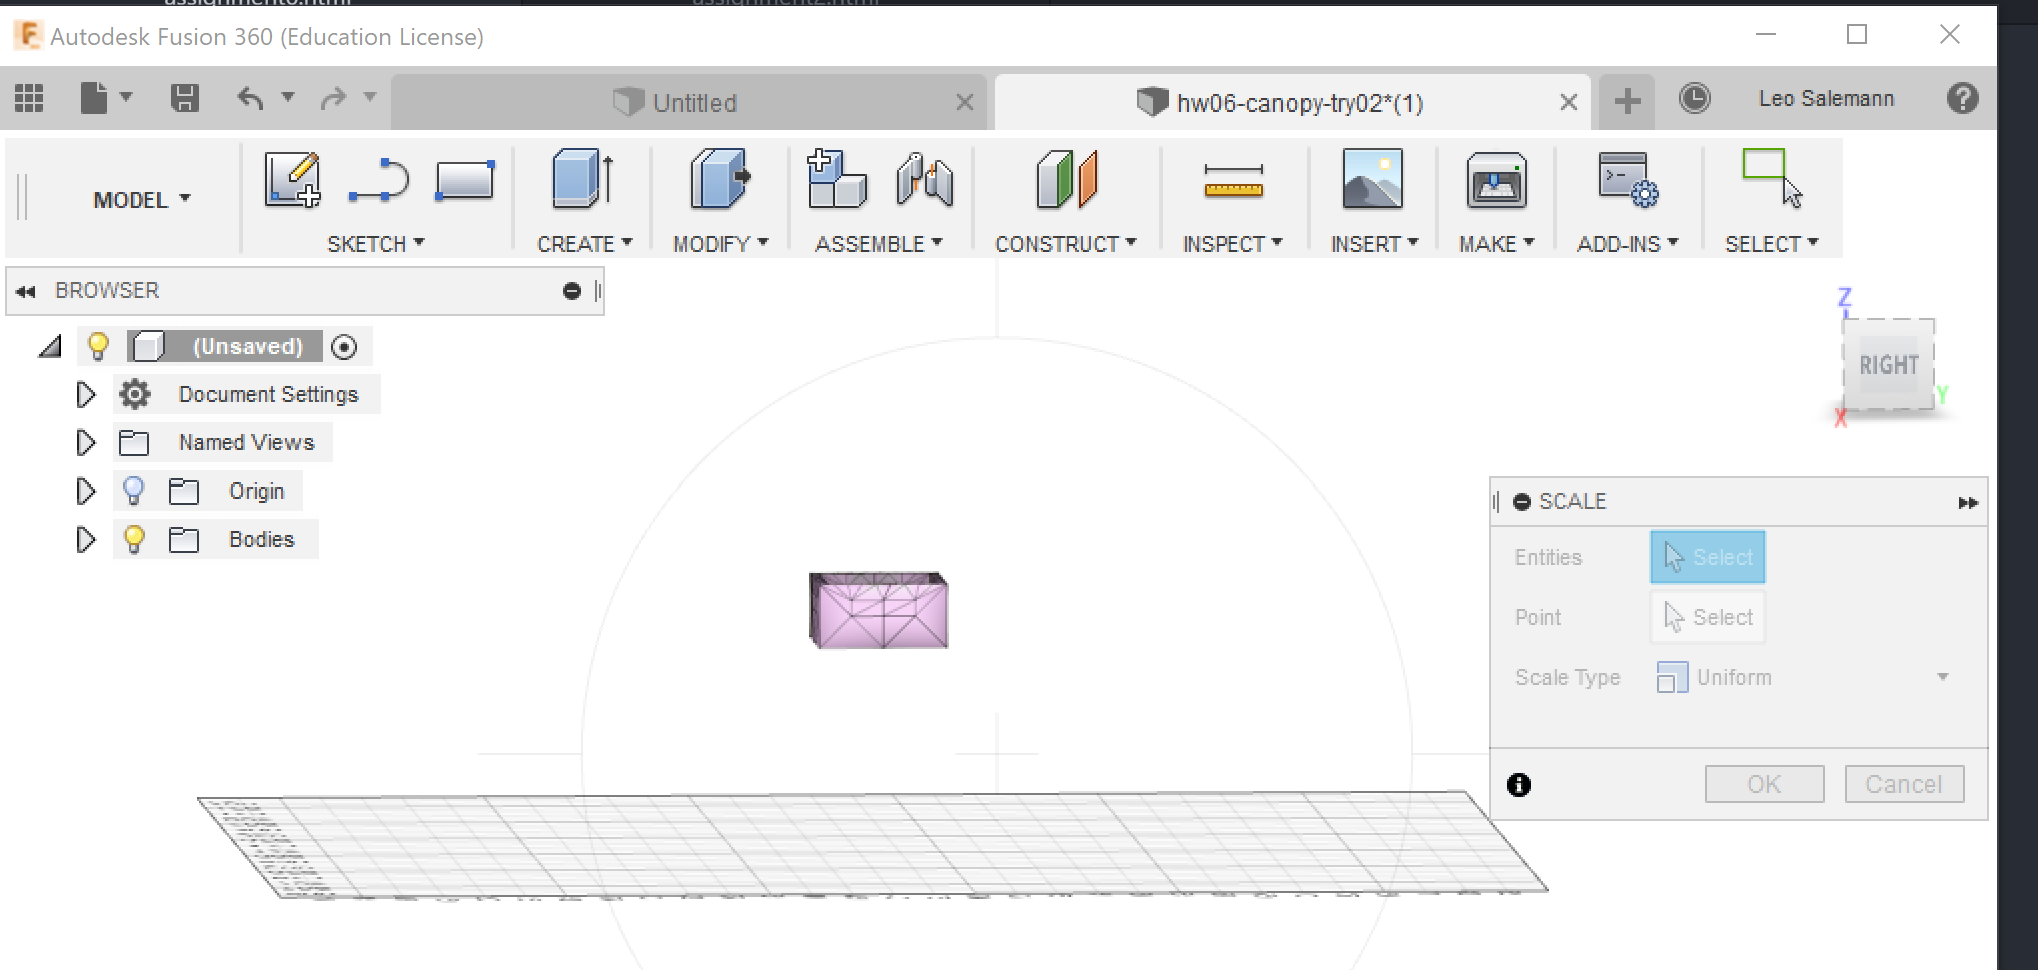
Move it to where it needs to go, set up the tooling, and ....

A bit of googling lead me to an Autodesk Forum Post by Neal Stein suggesting the tool might be trying to go "under" my canopy. Perhaps I need to embed it deeper and try again. I actually want a "shallower" mold so I can use less silicone. Here we go with try #3. Take the canopy from here ...
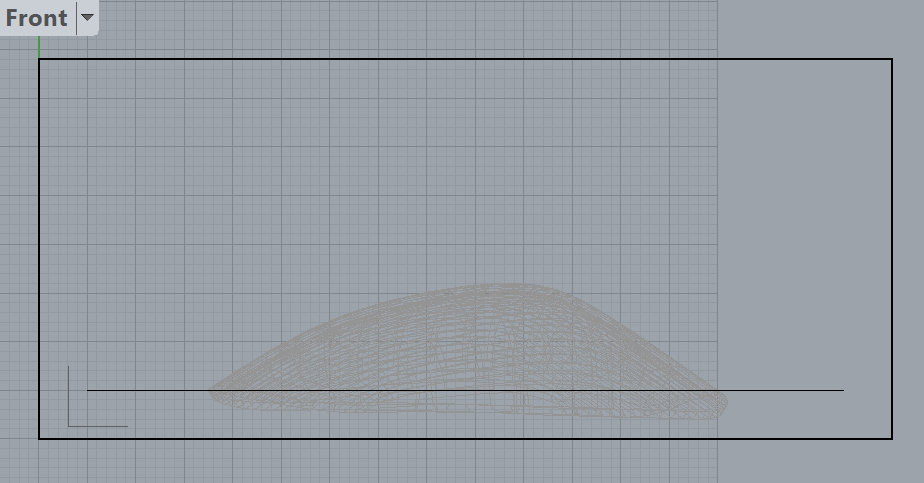
And move it up to here.
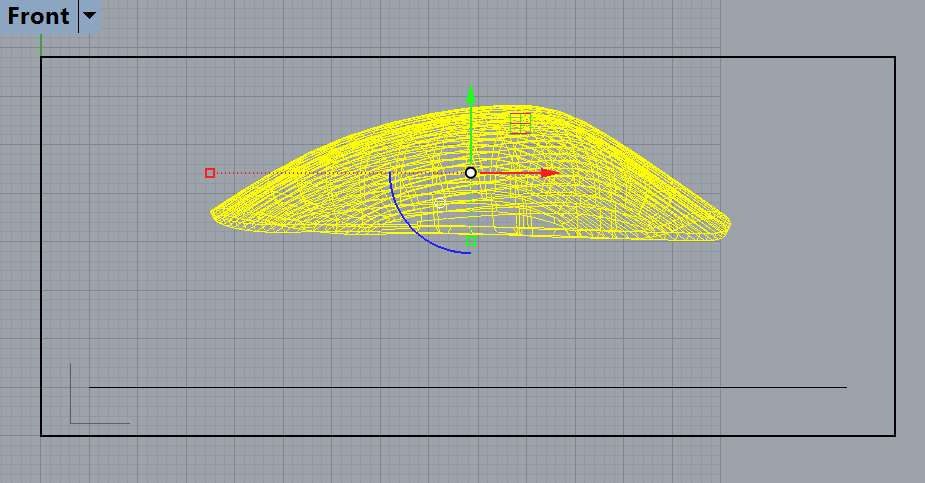
Now bring the bottom of the box up plenty high, making sure to bury all the wierd curves and overhangs on the bottom of the canopy.
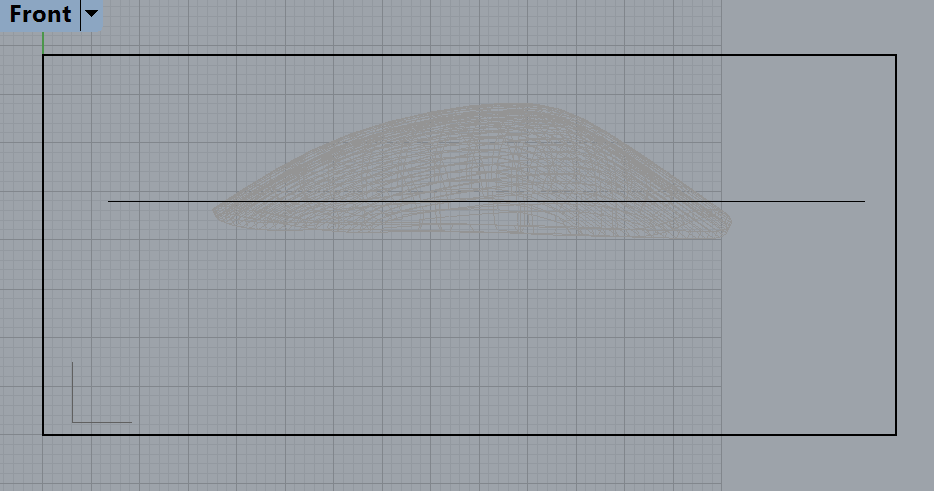
Okay back to the Extrude -> Cap -> STL -> Fussion workflow. Let's see how it turns out this time.
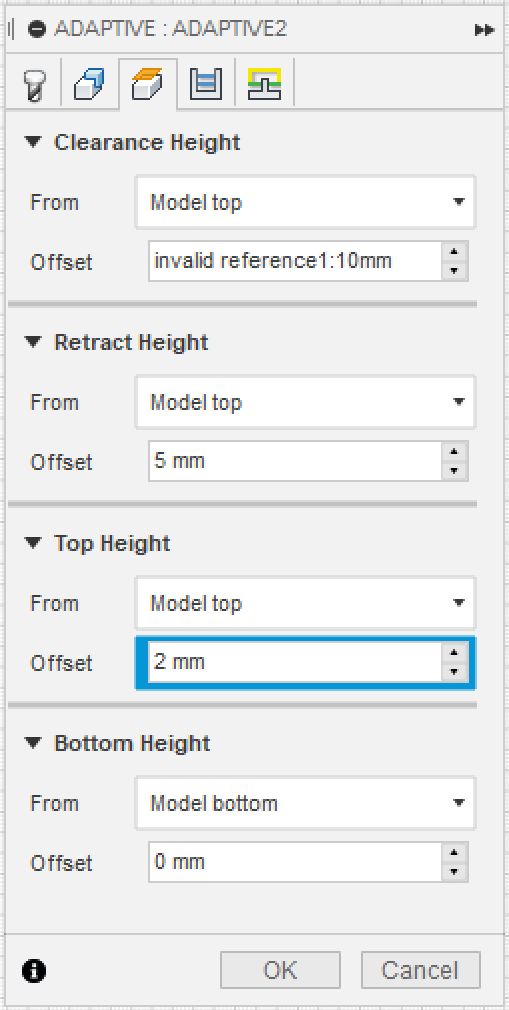
This is where I started thrashing around a bit. Got the same error so I had to sink the canopy even further. Got some wierd "bottom cannot be above top" errors, so I made these changes.
On about the third try, I got valid toolpaths and a successful simulation.
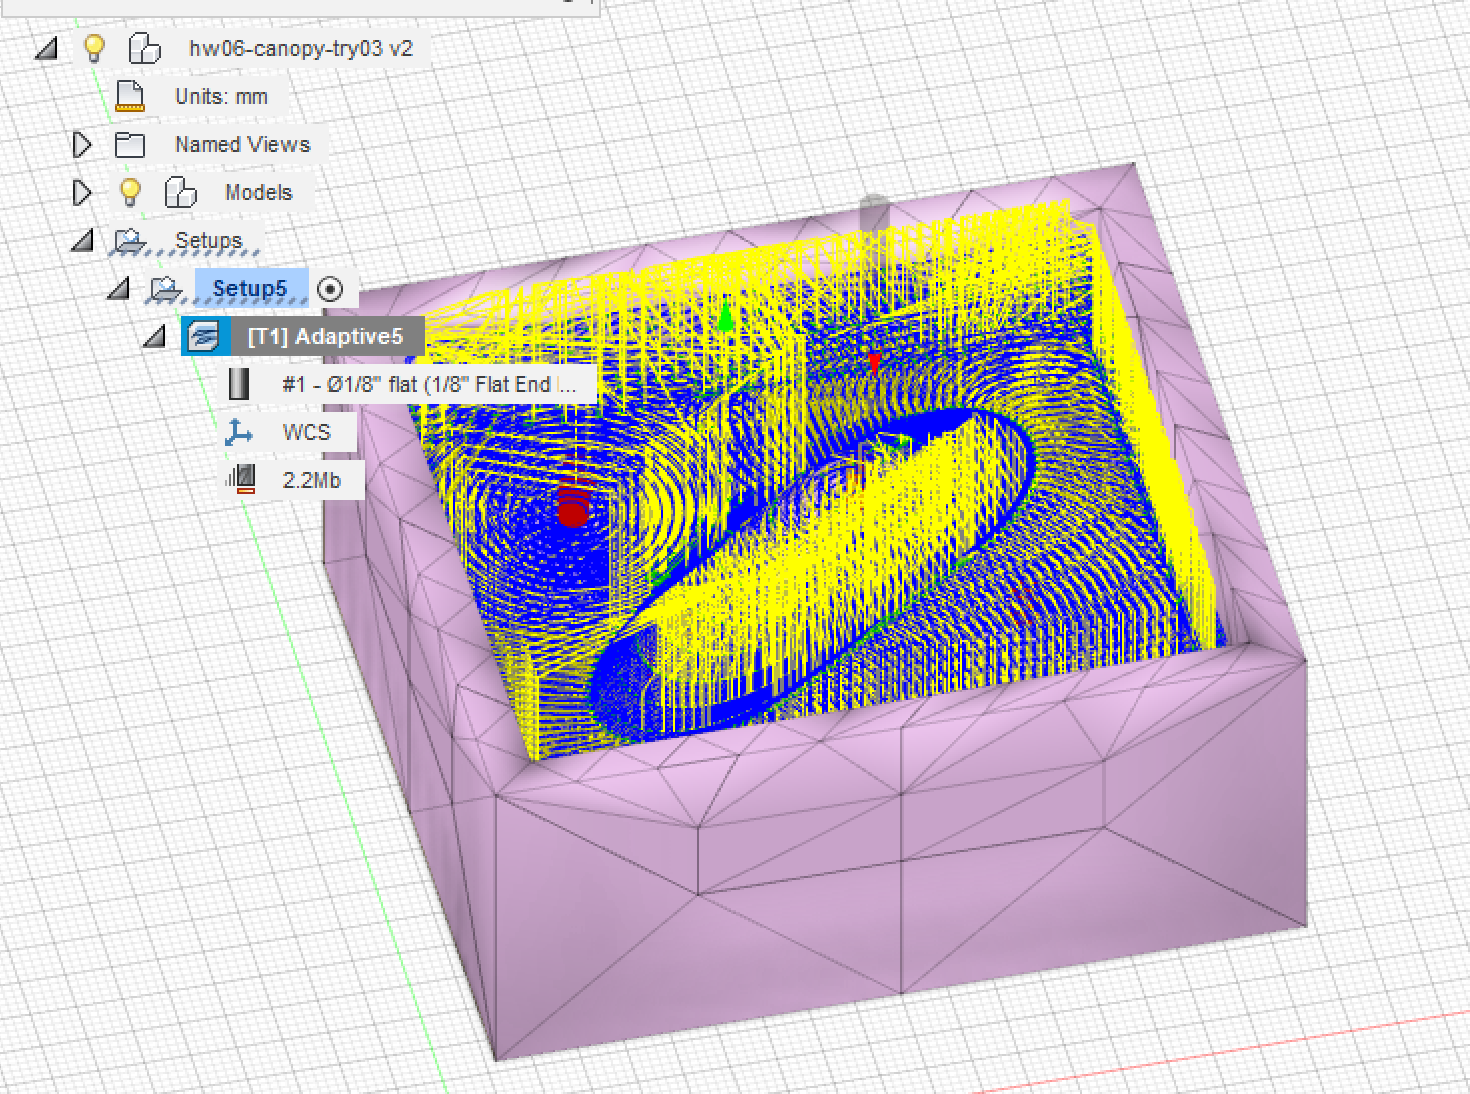
Pulling the g-code into Bantam naturally caused a wild offset.
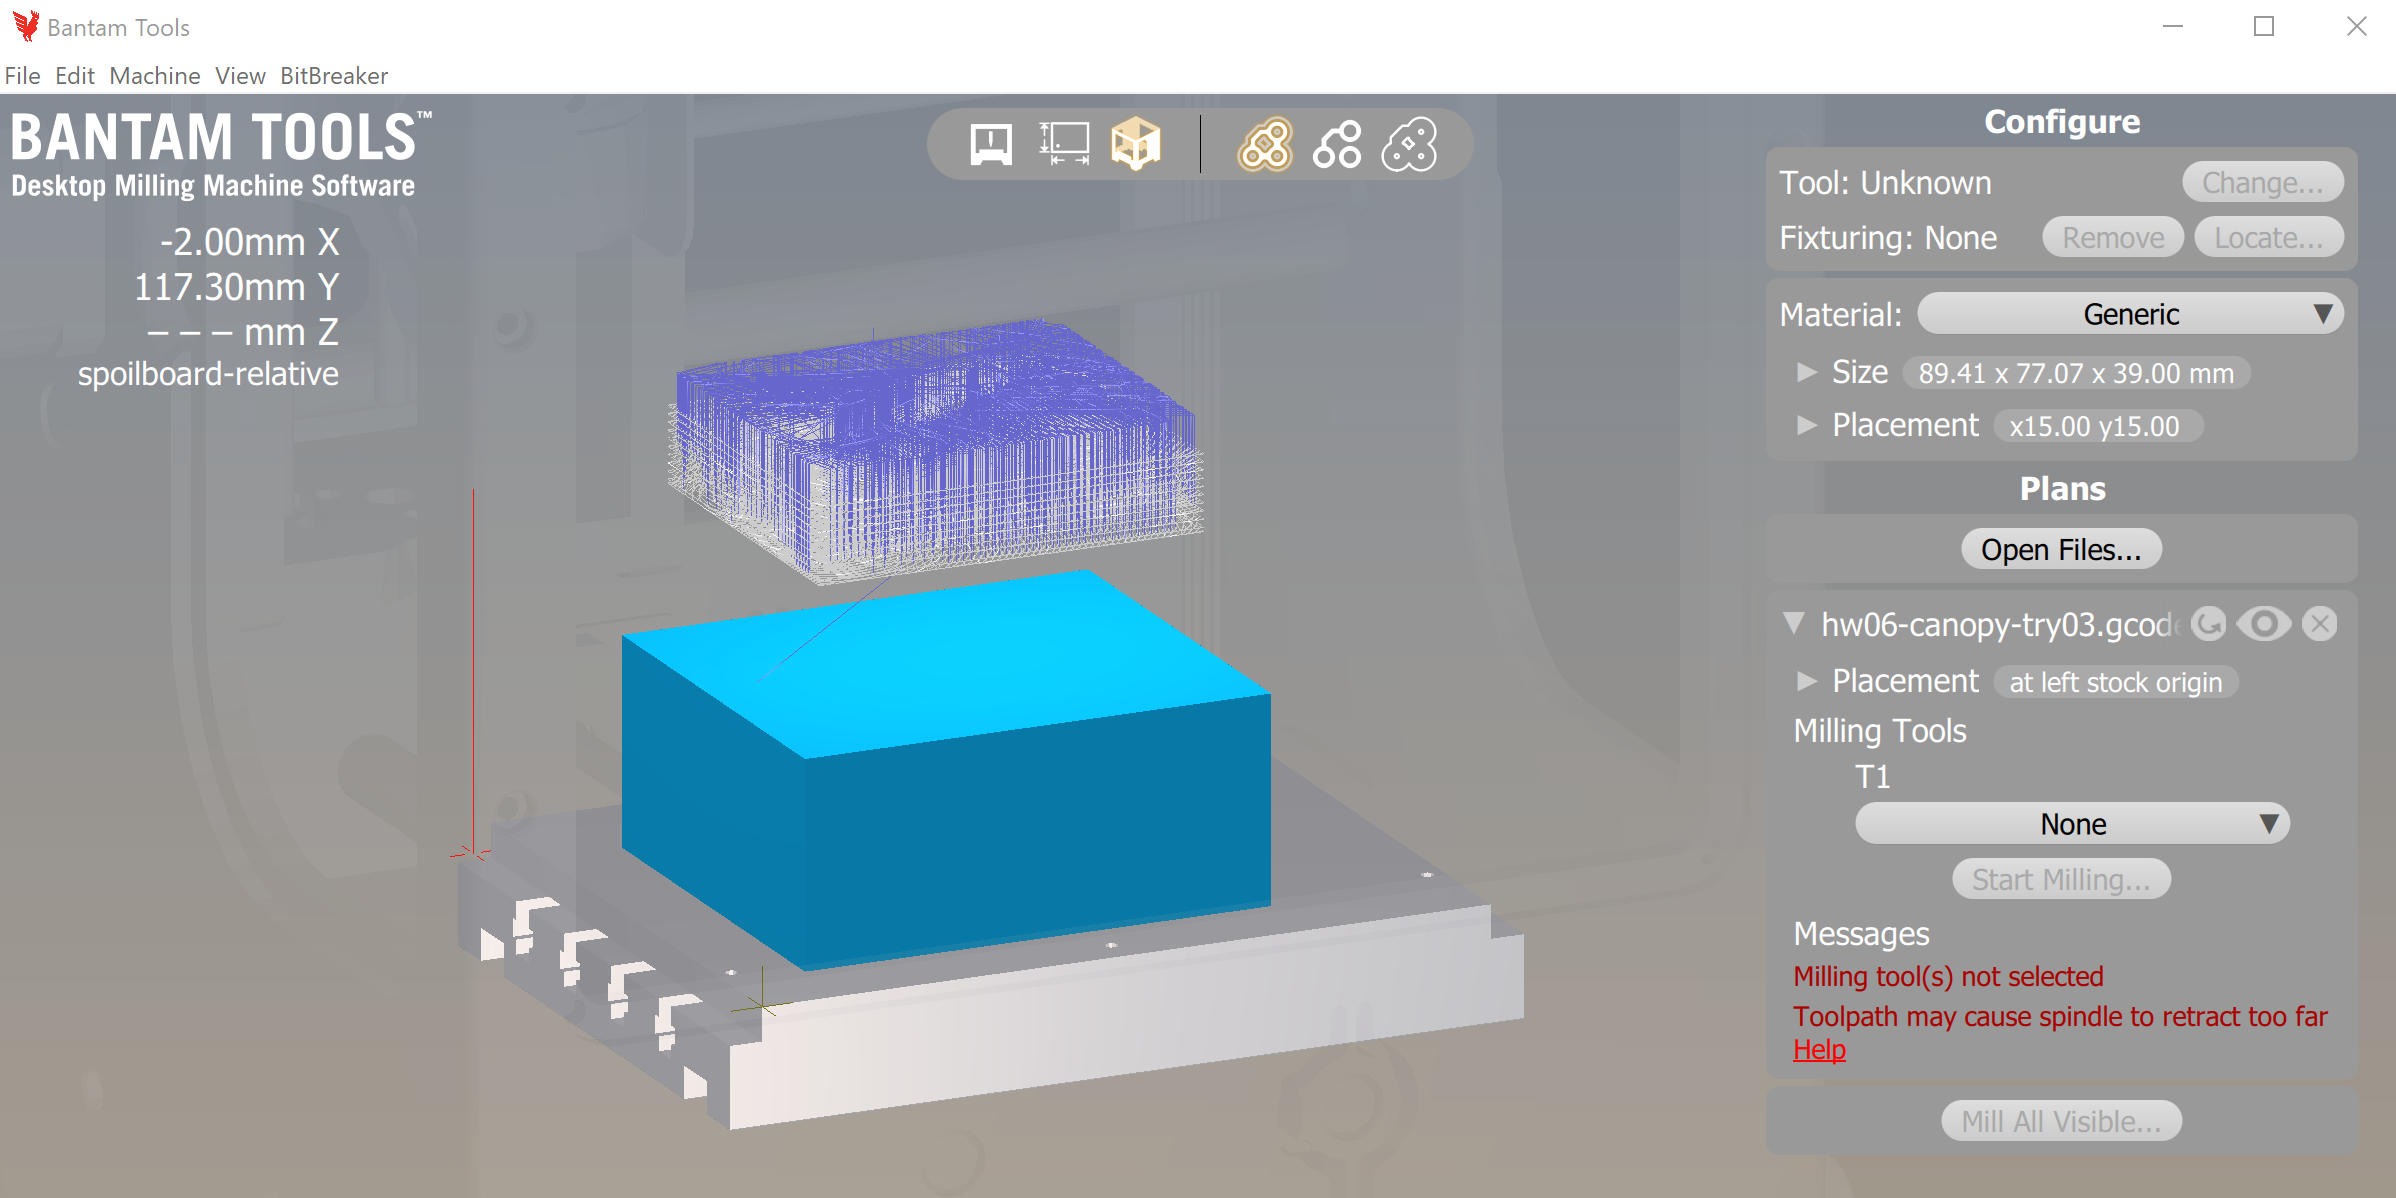
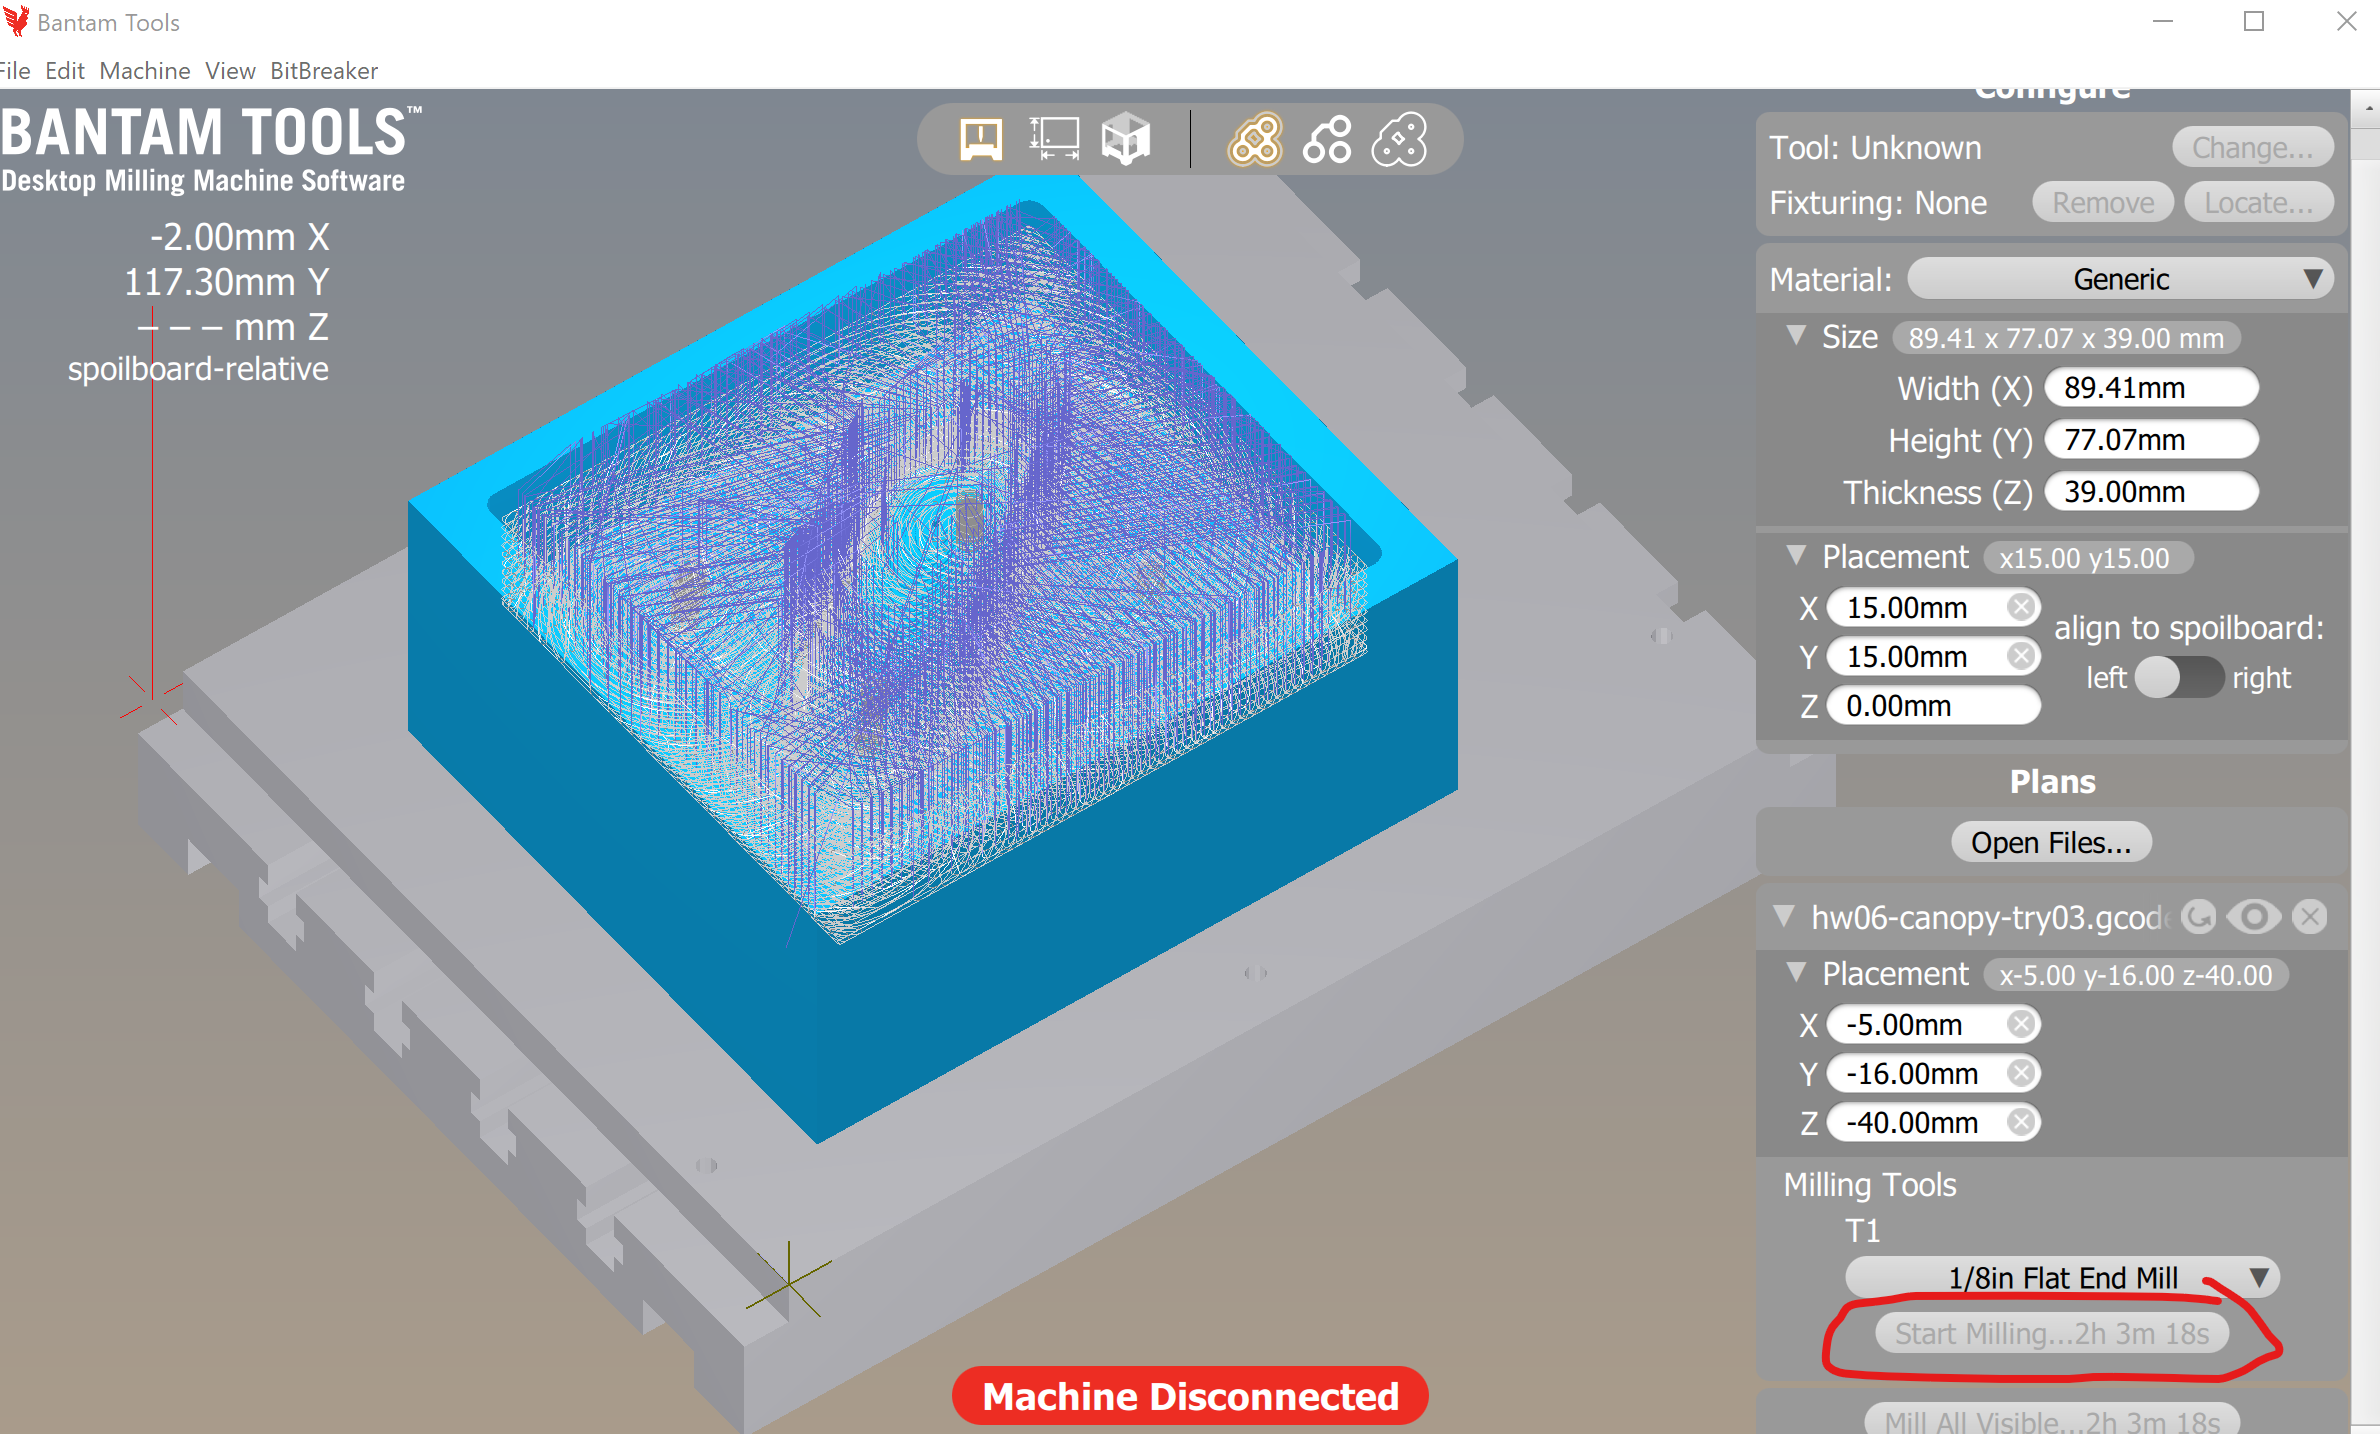
But after the usual ajustments, Bantam said It could be done in 2 hours and 3 minutes.
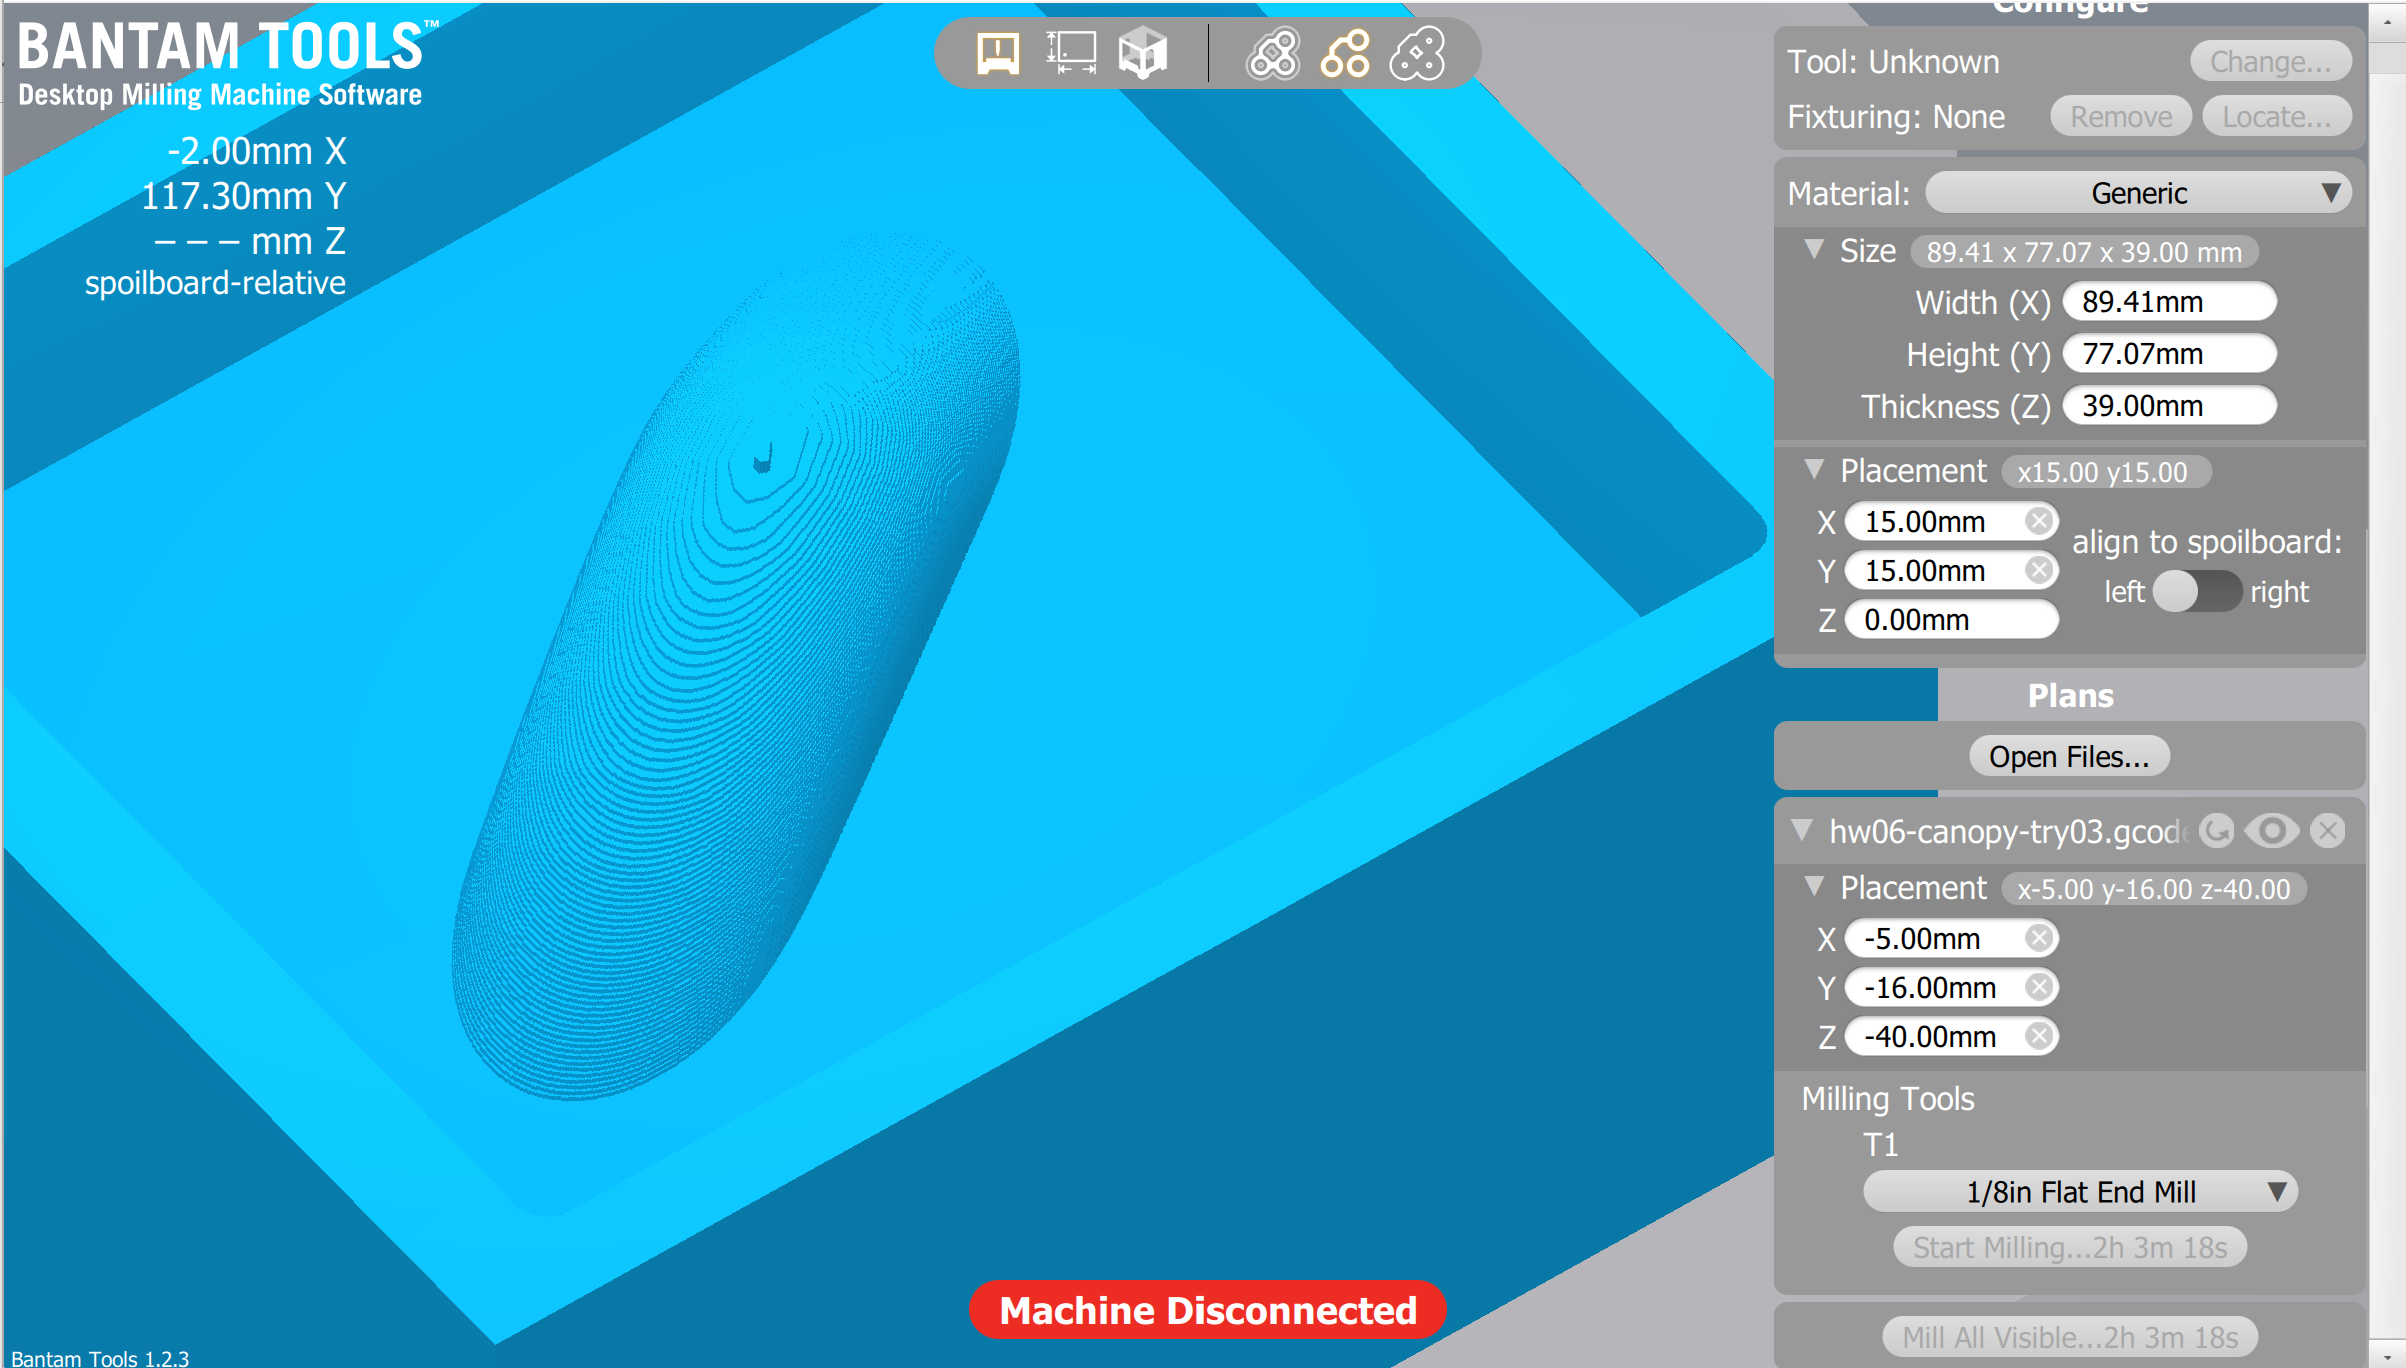
Turning off the tool paths shows I'm gonna have a highly countoured canopy. Should I dare try 1/16 bit? Maybe tomorrow.
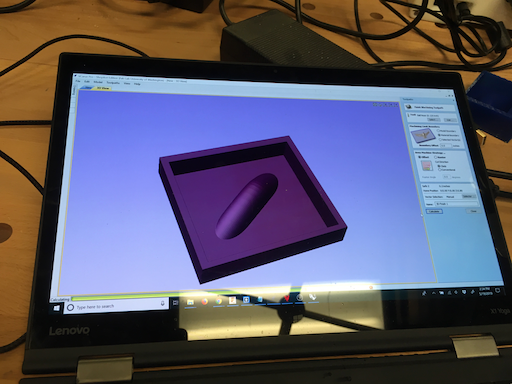
Somehow ended up being first to cut, having my STL and block dimensions ready. STL came into VCarve Pro ok.
Glued my wax in place and ...
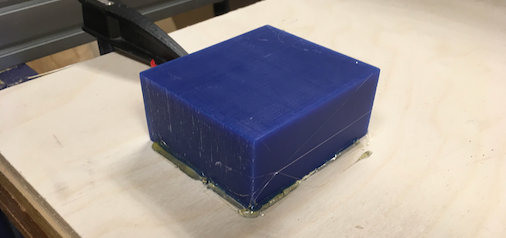
Whoops. Block was oriented longways in Y; Vcarve was oriented longways in X.
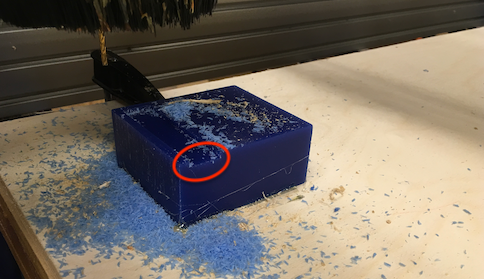
A bit of software tweakage (Thanks, @Nadya!), a retry ...
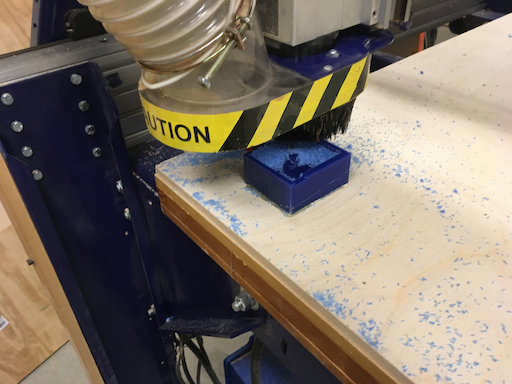
Rough cut turned out ... rough. Next time I'll plan for thicker walls, to allow more leeway with block size and placement.
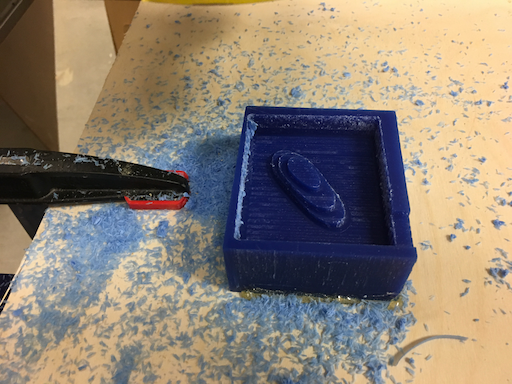
Looks like a canopy after the finishing pass. Also gave it a little glue gun therapy to patch that hole.
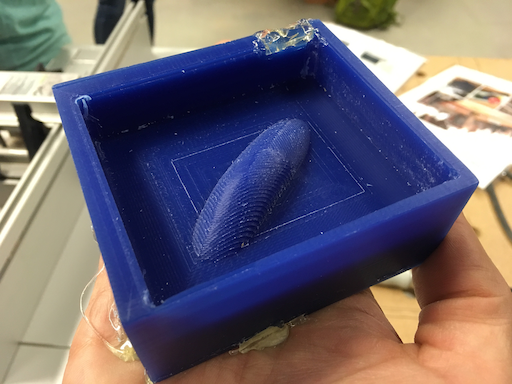
Some quality time with 300-grit sandpaper addressed the grooves. Will probably try a heat gun to get it back to a glass finish.
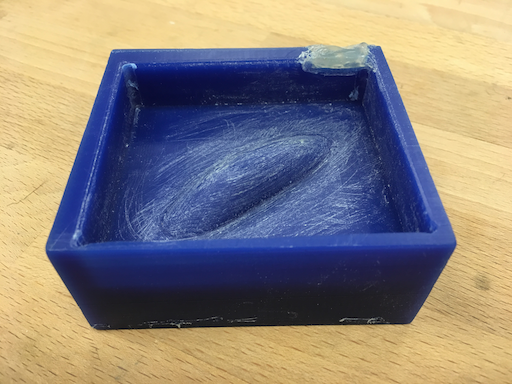
Okay, I'm back from Fluke. First thing imma do, is see if I can smooth out these scratches with my heat gun ... wihout turnning my hard-earned mold into a puddle of blue despondence. Time for for some light reading! First-up, the heat gun:
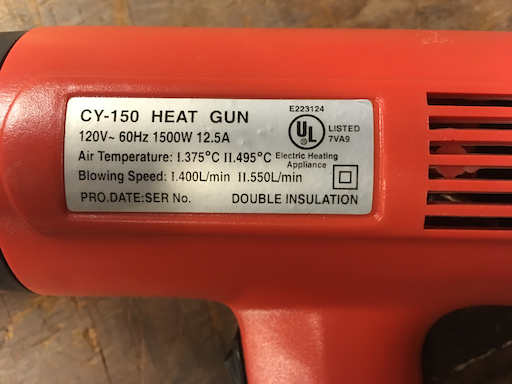
Lowest setting is 375 ℃. Good to know. Moving on to machinable wax, their tech specs at https://www.machinablewax.com/technical.php says it melts at 116 ℃. Uh-oh, gotta be careful with this.
The thickest part of my mold is on the bottom. So I'll flip it, scuff it, and try to melt the scuffs out.
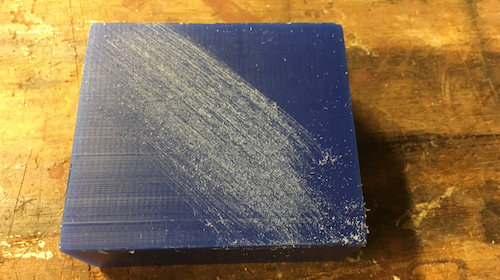
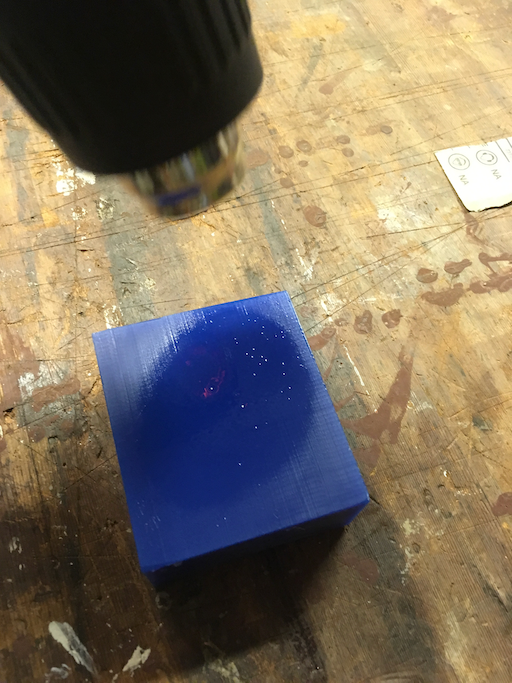
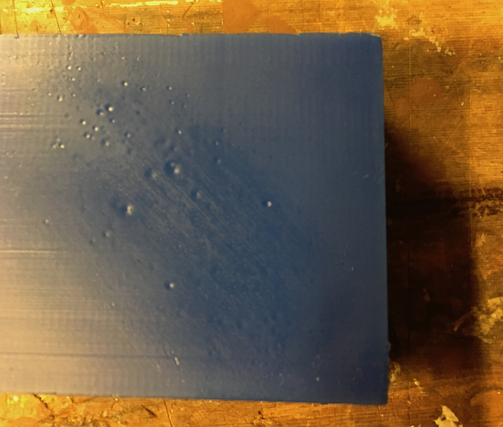
Heatgunning the canopy worked well for the most part ...
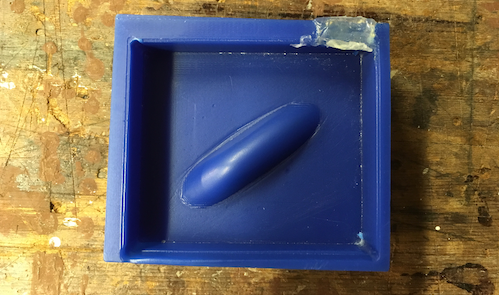
Except for some stubborn grooves at the very edge.

More sanding, more melting, less courage, less patience ...
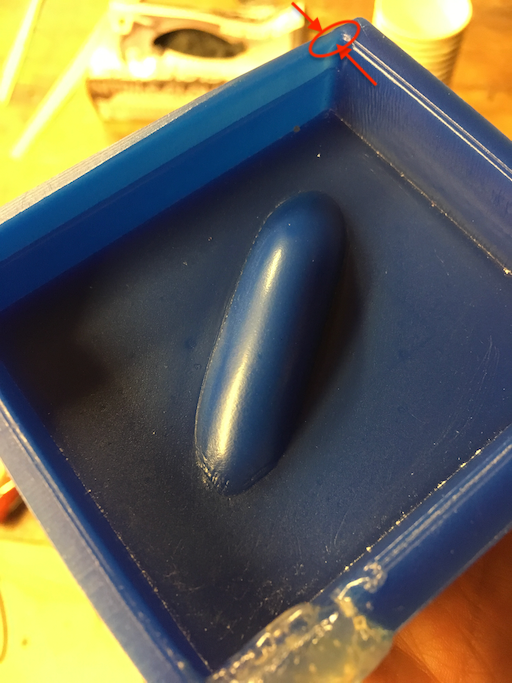
Start with a volume test, in this case some steel-cut oats. Fill the mold ...
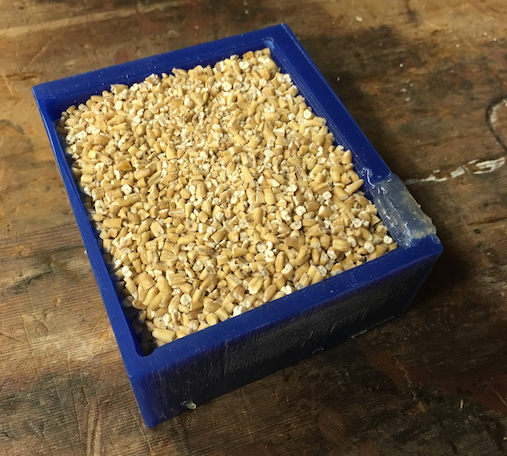
... transfer to measuring cup.
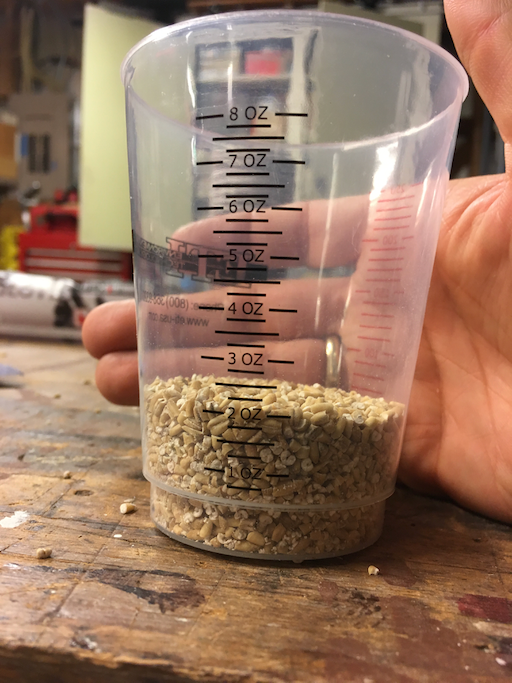
Two ounces, how convenient. Transfer to a couple paper cups, mark the fill lines.
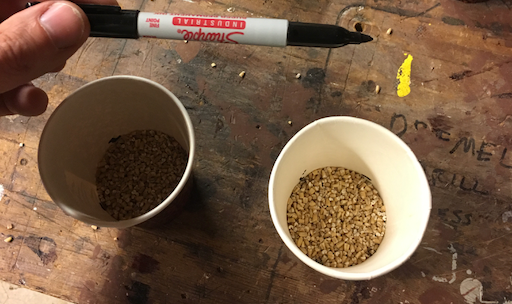
Pour out an once of Part A and of Part B from the EasyMold® package, using the recently Sharpied fill lines. Pretty goopy stuff, glad I'm using disposables.
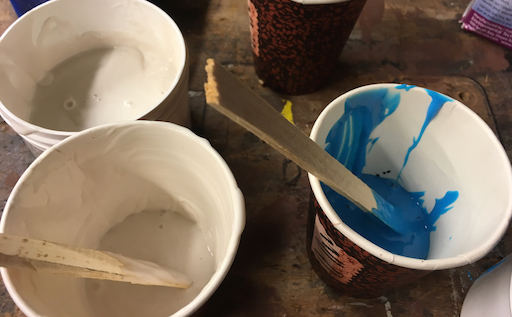
Mix, pour, and ... bubbles ... plus some uneven color. I'll try to mix more throughly tomorrow, but I'll take my changes with this one for tonight.
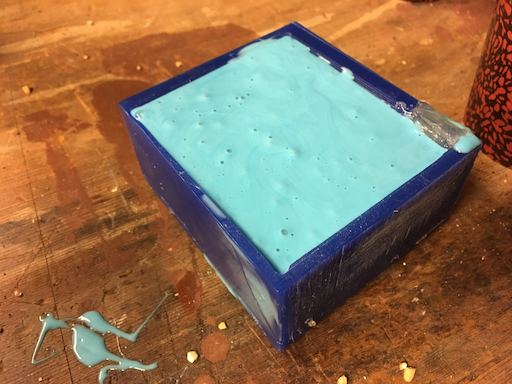
It's been about 24 hours, the silicone has far fewer bubbles and feels firm and dry to the touch. Also feels firmly attached; gonna need a bit of leverage and mechanical persuasion.
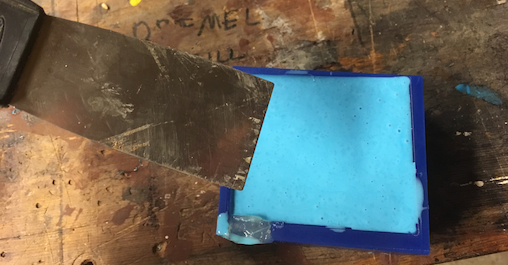
The silicone came out okay ...
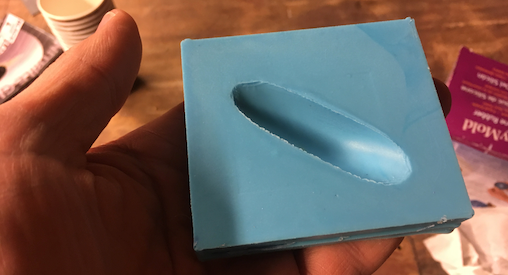
The wax shows some wear and tear.
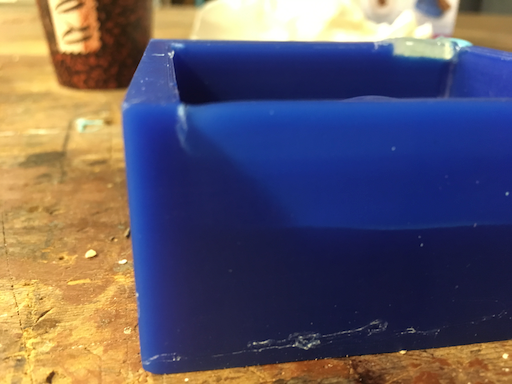
First-off, Imma apply some Mold Release and Conditioner to my newly liberated silicone mold. While that dries, I'll mix up another batch of silicone and pour another mold. Today I can make one canopy; tomorrow I'll be able to make two.
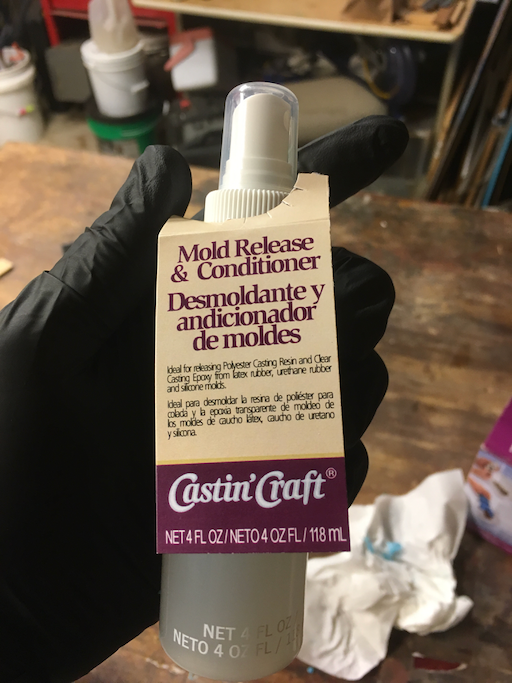
Now that my first mold's conditioning, I can start the second one.
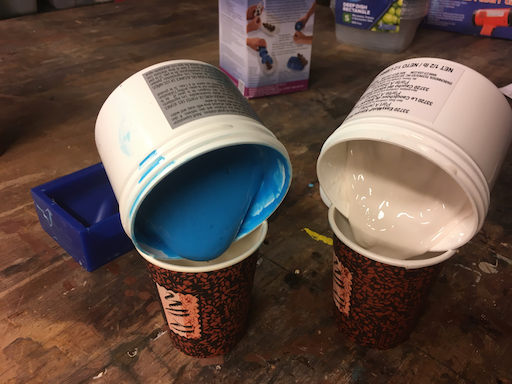
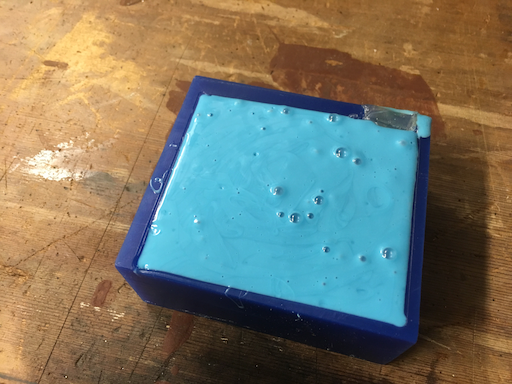
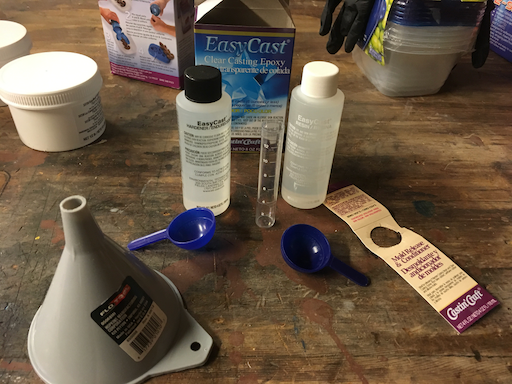
Okay, the second silicone mold's been poured, the first mold's been conditioned, time to mix up some casting compound.
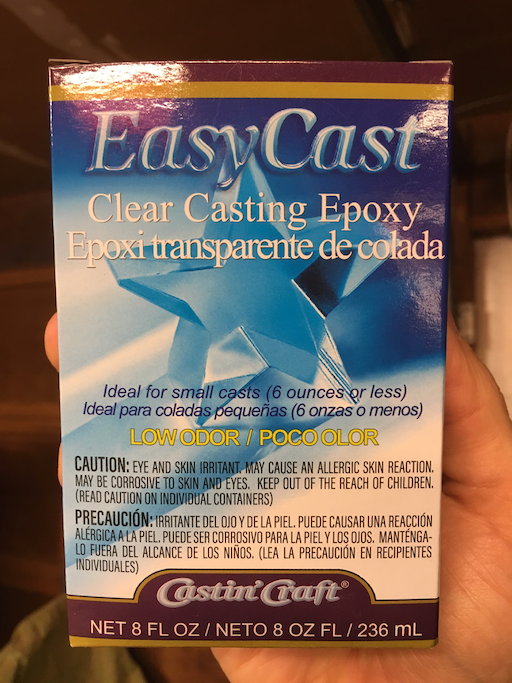
Not too different from the silicone. Two liquids, a 1:1 mixture. Smaller volumes this time, so smaller measuring cups.
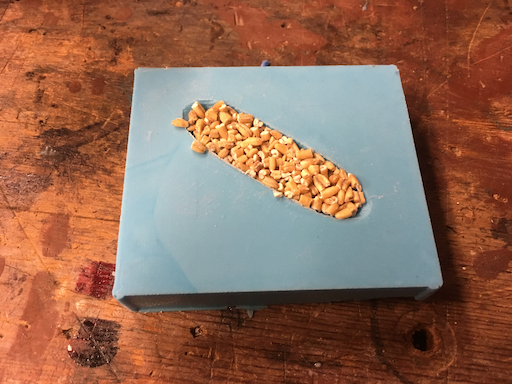
As with the wax mold, pour some grain ....
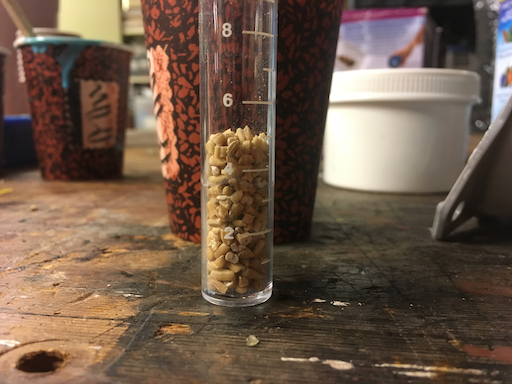
Then measure.
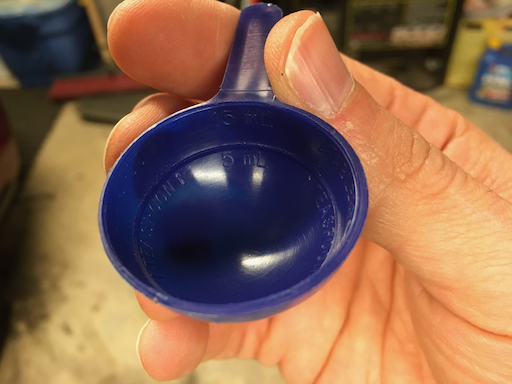
Mixing was routine, pouring started off well.
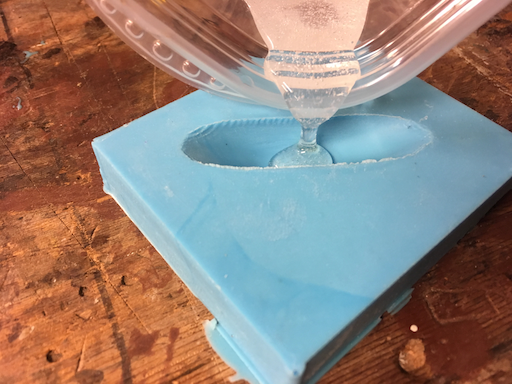
But ended with too much. I had mesured 5ml of each bottle instead of 5ml total.
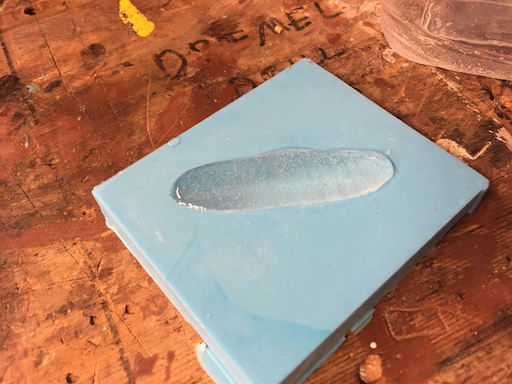
Scrape it smooth, and let it be for the night.
Canopy hardened enough to pop out after around 24 hours, but it's still soft enough to bend. It’s perfectly dry, though. The good news is I can reuse the mold tonight.
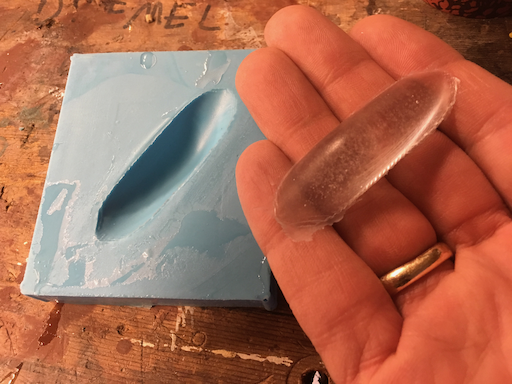
Second silicone mold popped right out with less trouble than the first one. Add some release conditioner to both. While that's drying, mix up my third batch of silicone so I have a third on the way.
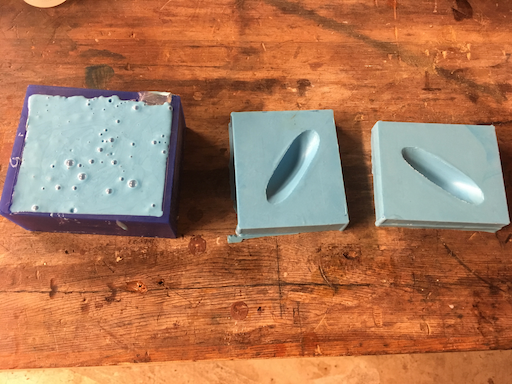
After a long dinner break, the molds have two coats of conditioner on them and it’s time to pour new canopies. I've got better measuring cups now. Remembering last night's mistake, I'll keep it to around 5 ml in each cup.
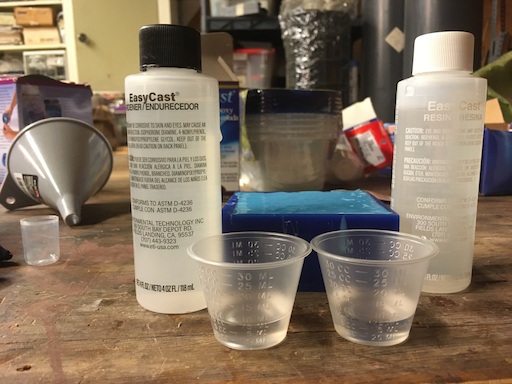
Aannd overlow again. Probably because I kept over pouring one measuring cup then had to "catch up" with the other to keep things even. Probalby 7ml in each instead of five. Oh, well I know this drill: Scrape, wipe, ignore for a day.
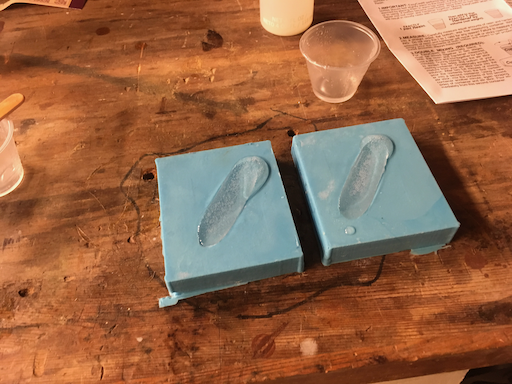
Also I leanred that Silicone fails the touch-test if you only give it an hour.
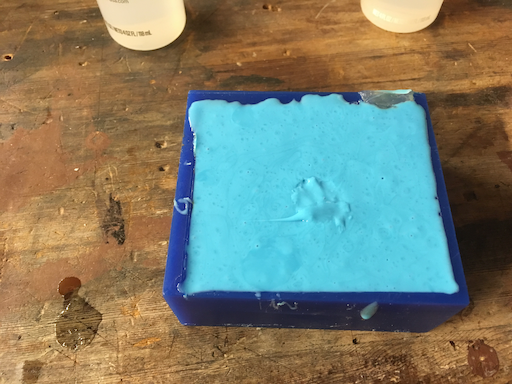
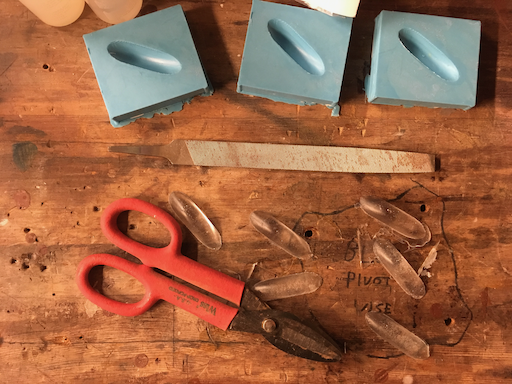
Things hardened well over ther last 24 hours. Got two more canopies and three molds. Lots of overflow/flash material on today's canopies, but nothing that can't be cured with some stout shears and a file.
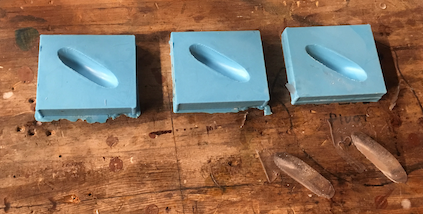
Not much more to do today but pour another three canopies. Technically I only need one more, but I have molds, material, and a budding casting addiction. Went lighter on the epoxy - only 7.5 ml of each liquid (15 ml total). Had to "spread" the last bits to fill the molds.
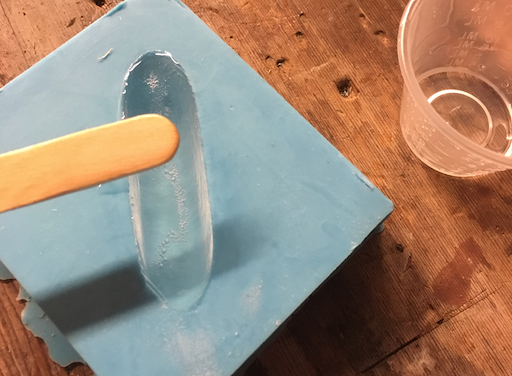
The latest casts were the best yet, very hard and clear. The two prior ones have lots of overflow/flash material to trim off with heavy-duty scissors, then file away. All of them have some bubbles and fuzziness. I’m not sure if applying the mold conditioner to a couple of them really made them more clear, but maybe some other coating might.
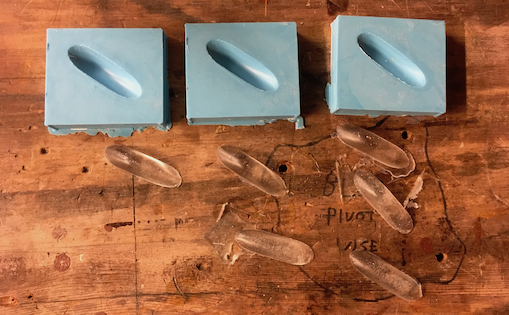
Luckily I have some heavy duty scissors (shears, really) and a charming collection of files. Time to play "canopy manicurist."
One of them turned out really bad with bubbles right at the surface of the mold which then turned into craters when you popped out the final product.
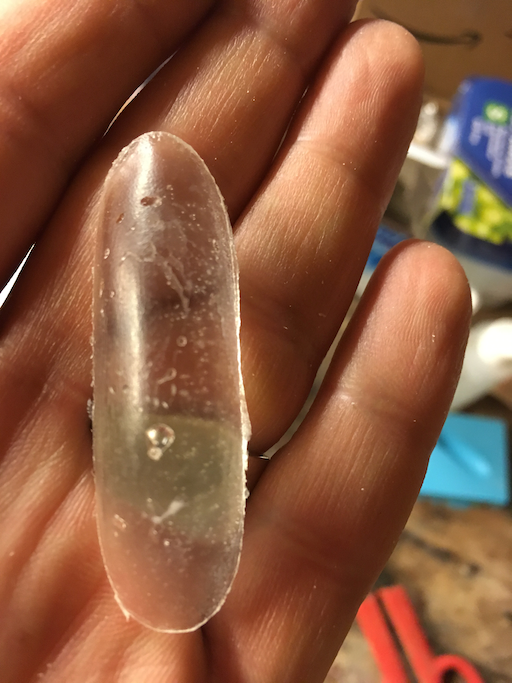
Triming and filing didn't take too long. Now I have six canopies, three silicone molds and one wax master. Still need that partridge and that pear tree.
